Lens repair – Tamron 14mm-150mm
I’m ashamed to admit that I managed to drop my camera c/w my favourite 14mm-150mm Tamron super-zoom lens yesterday. I failed to secure the camera correctly to the tripod and it fell crashing to the ground, lens-first. Fortunately the camera, a tiny µ4/3 Lumix DMC-GX7, seemed unharmed. Even more fortunate, I generally I use those generic unbranded rubber lens hoods instead of the horrid petalled plastic things that many lenses come with these days. This rubber lens hood bore the brunt of the impact.
I bought a box load of rubber lens hoods, in various sizes, from a bloke in China a few years back. Only cost a couple of quid each and they have saved my proverbial bacon so often that I could probably open a bacon-sandwich factory. 🙂
But I digress…
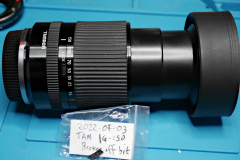
Unfortunately my trusty Tamron 14mm-150mm lens did sustain some damage.The lens itself actually still worked, mostly. However the zoom mech in the lens was sticky and jamming in various places along its travel – thus rendering it pretty useless for any serious work.
DIY Lens repair
Now, regular readers will be aware that my knee jerk reaction to any equipment failure is to nip the back off and take a look. Especially when the likely repair cost will exceed the value of the damaged item. I paid £200 for this lens back in 2017, second hand – though it was in very good nick. So I decided to have a crack at fixing it myself.
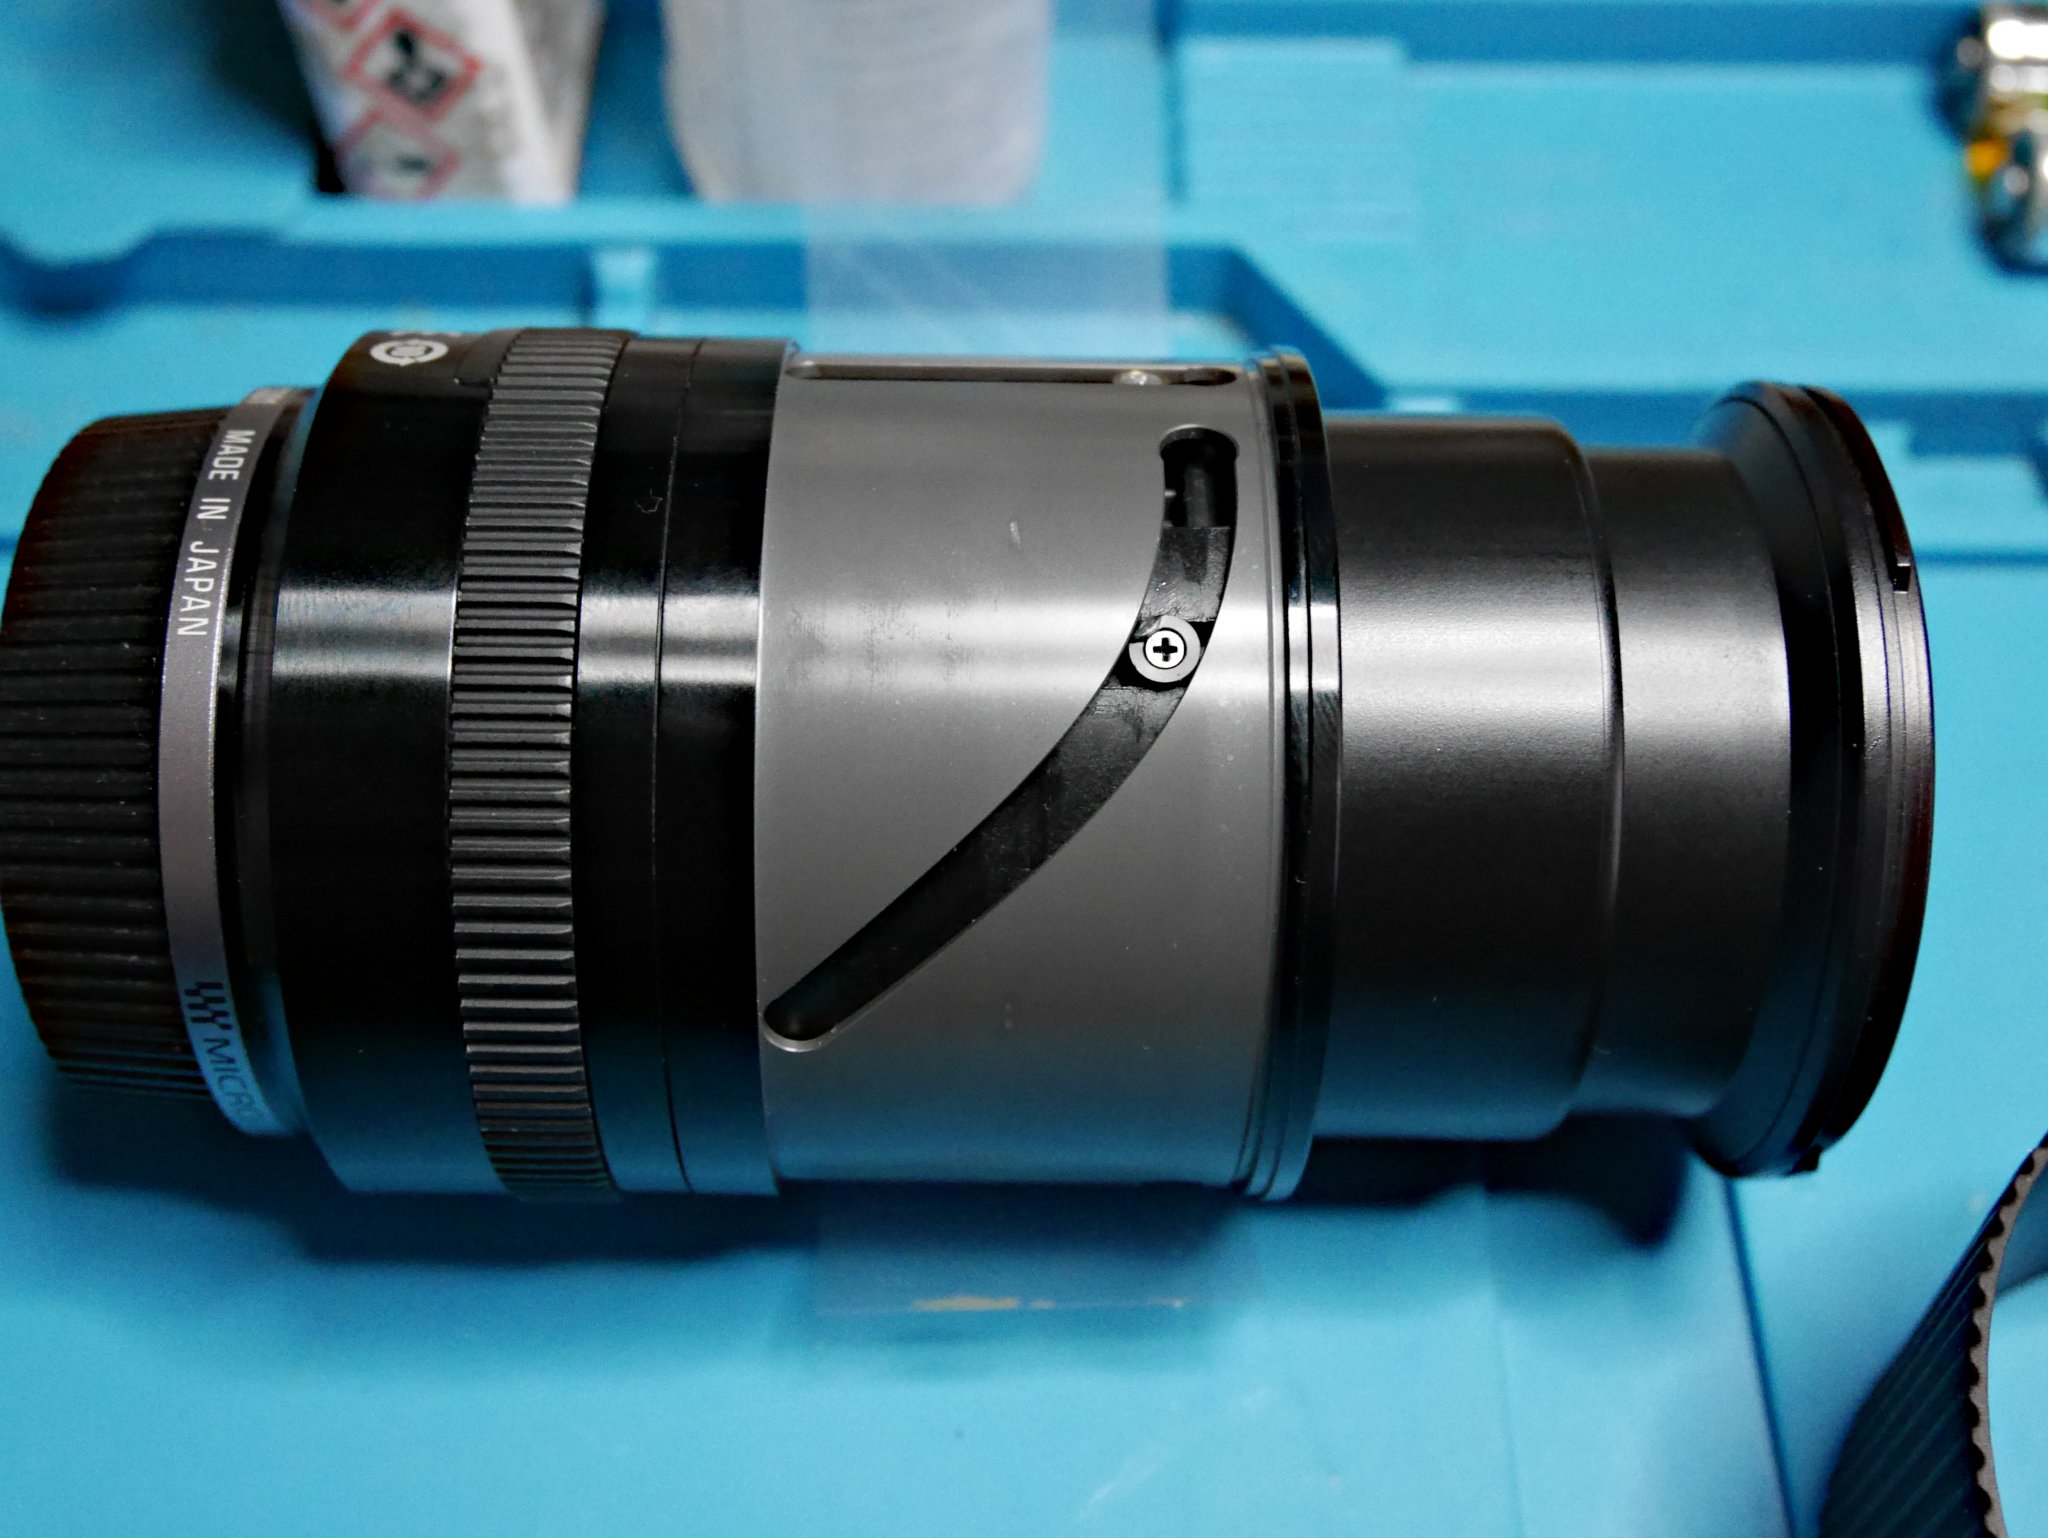
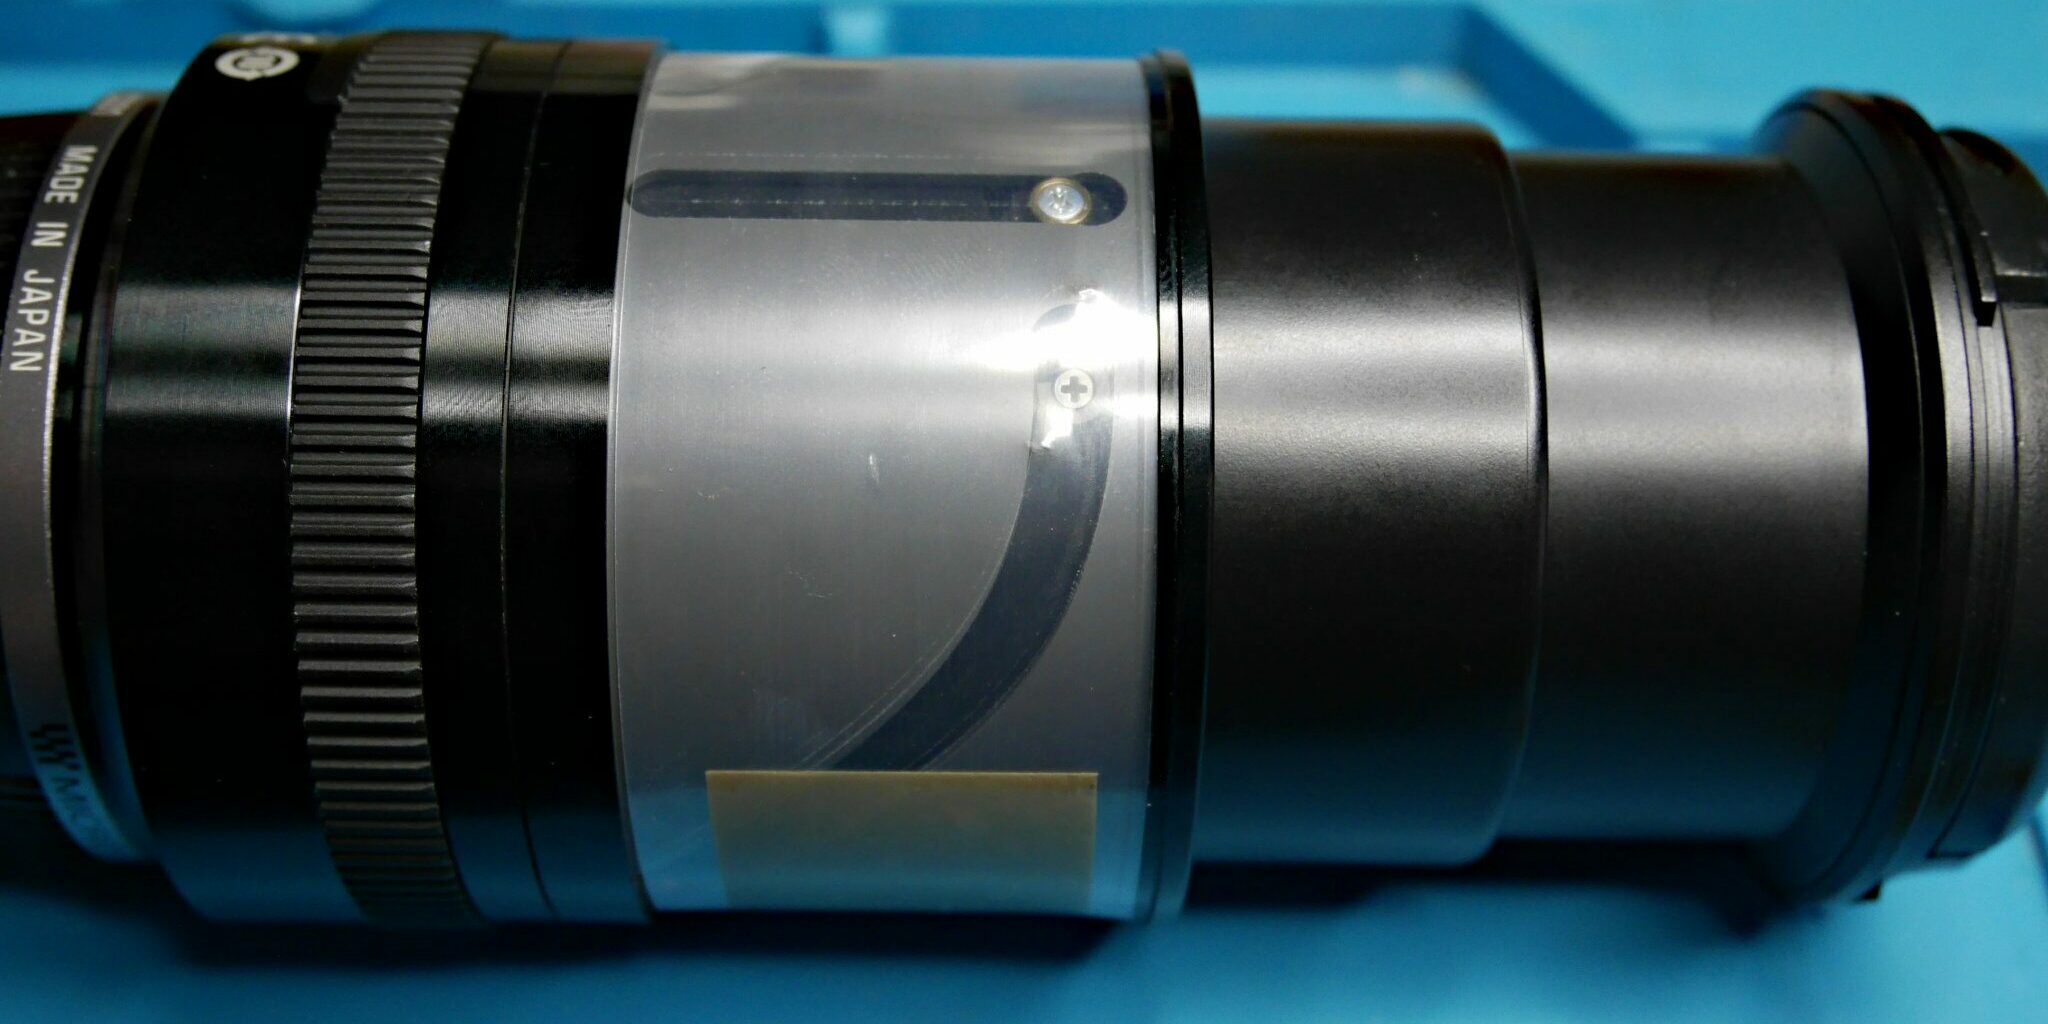
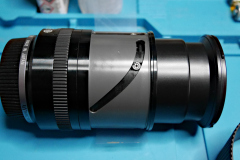
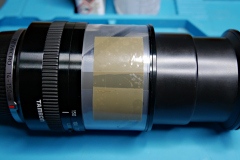
Despite the horrendous price we pay for them, many modern lenses are actually very cheaply made. Gone are the days of beautifully turned brass or aluminium housings. Many of today’s offerings are cheap and nasty ABS plastic – given a matt finish to make them look a bit posher. Moreover, many zoom lenses the zoom mech is often just under the rubber adjustment ring. In Tamron’s case, the rubber ring is only separated from the mech by a thin plastic membrane strip, held together with a few centimetres of kapton tape. It looks like orange sellotape but has a muck higher temperature range.
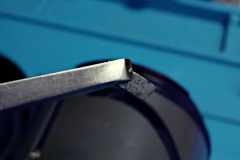
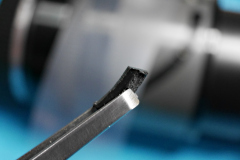
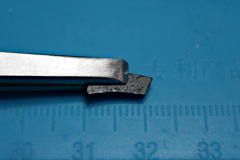
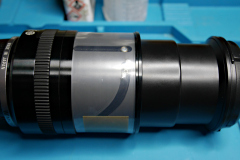
All you need to do is slide off the rubber ring remove the membrane strip and you can see and more importantly, access the mech. No need even to dismantle the lens! Inside one of the curved slider I found a small piece of curved plastic, about 4mm wide and 10mm long.
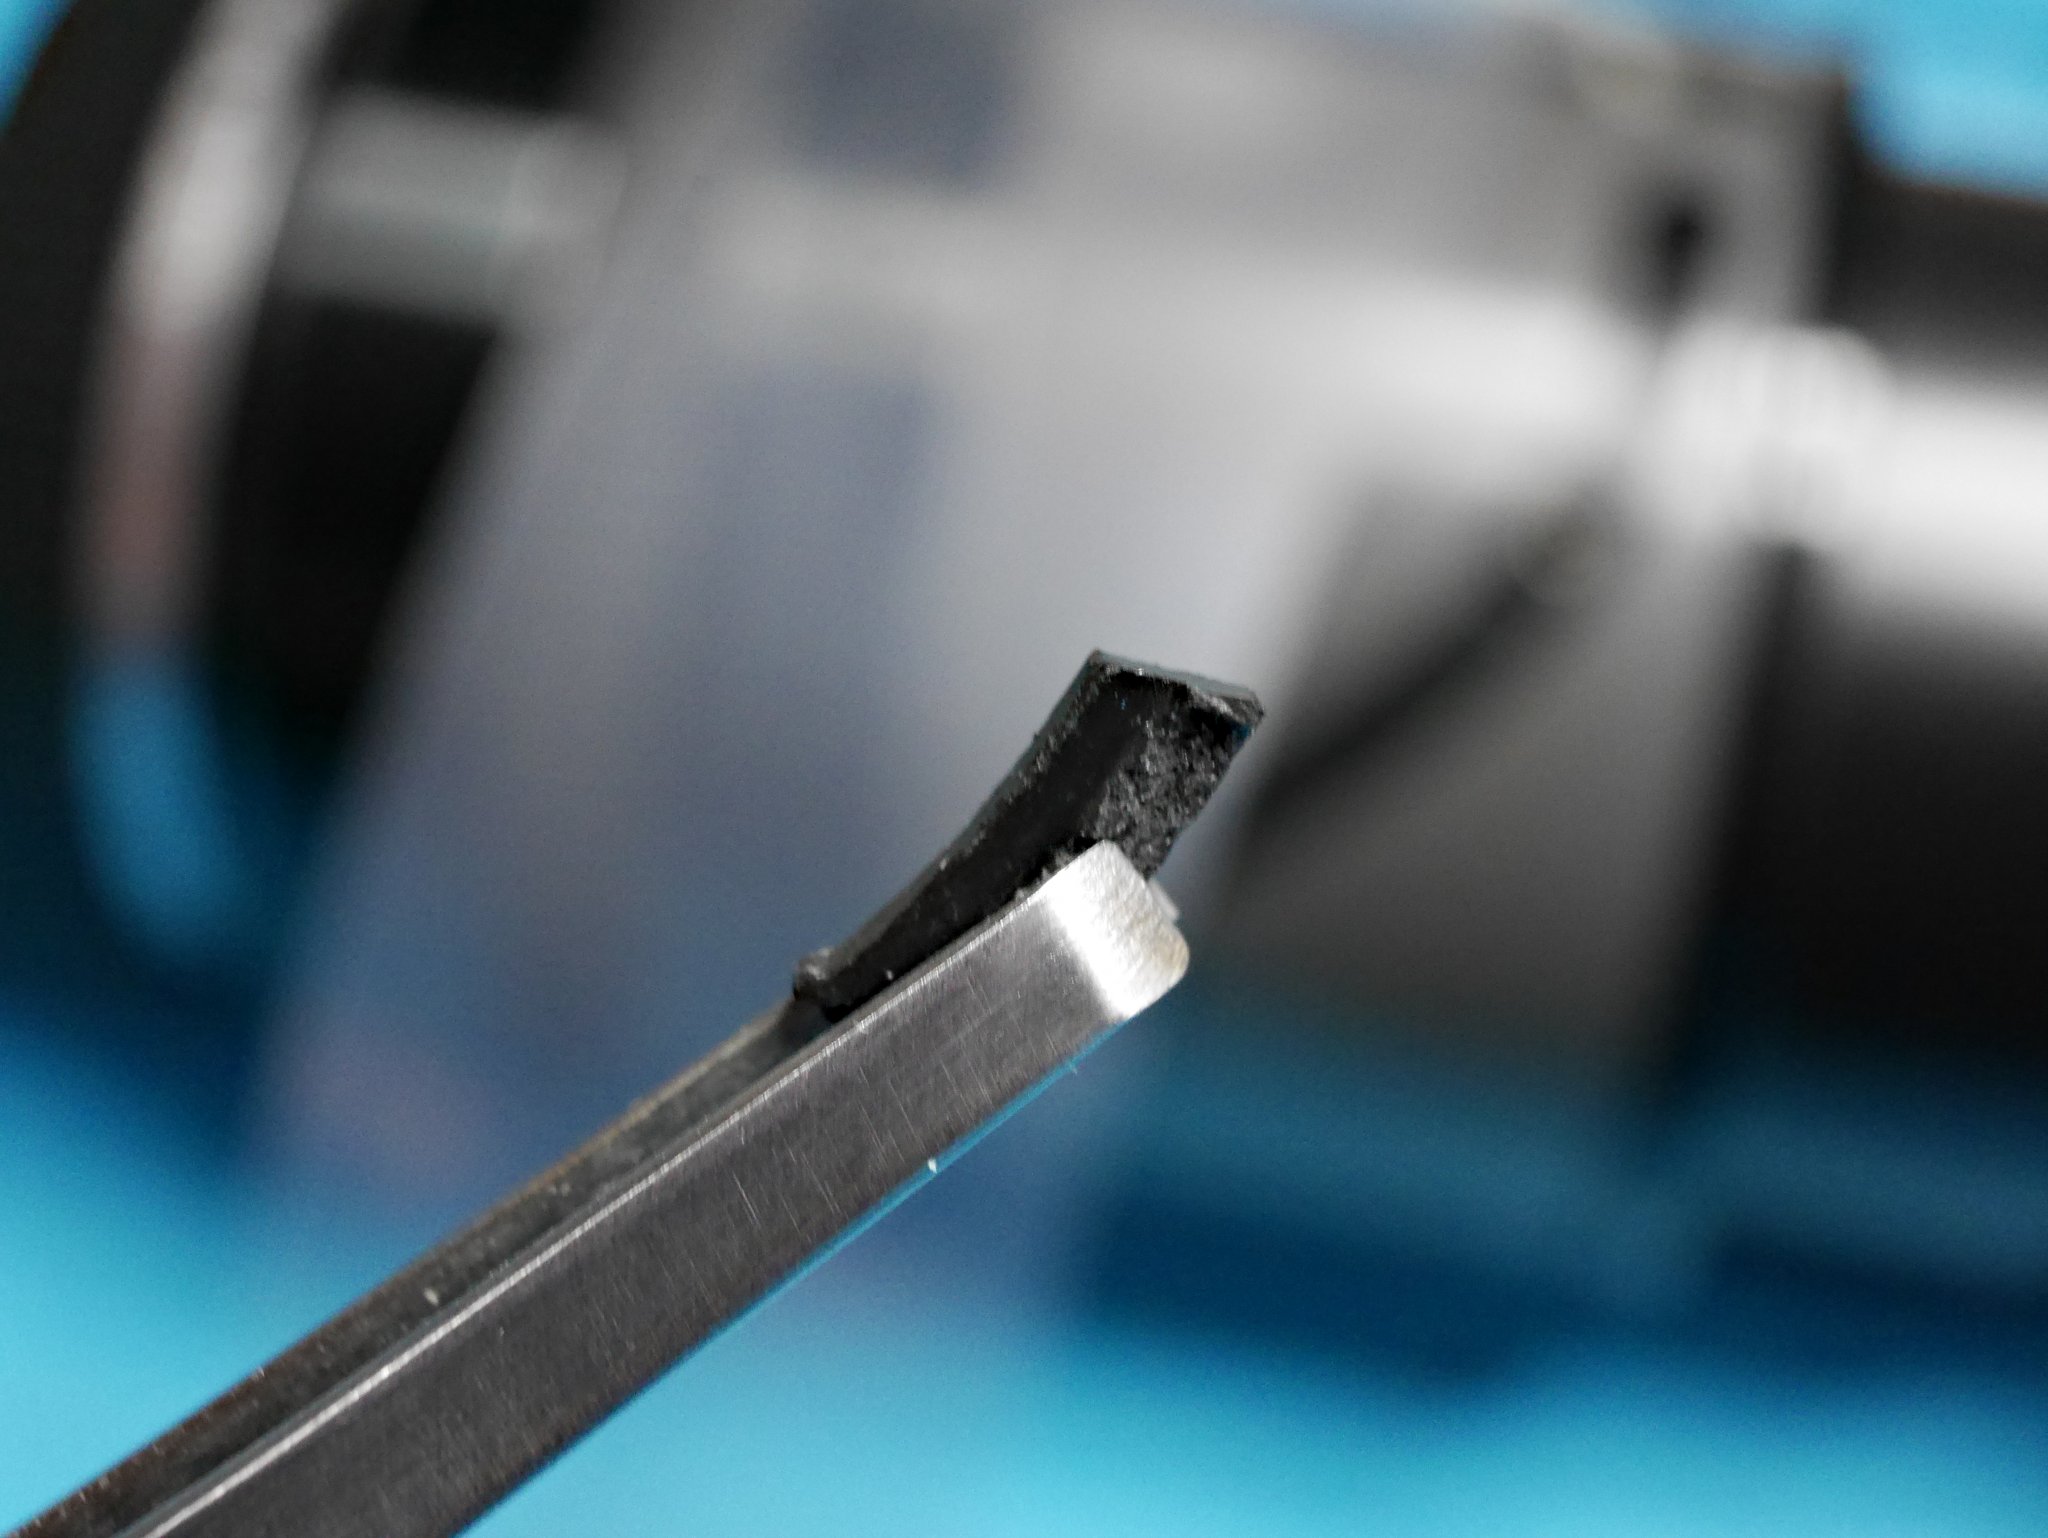
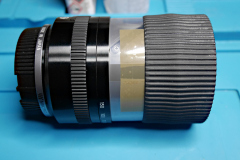
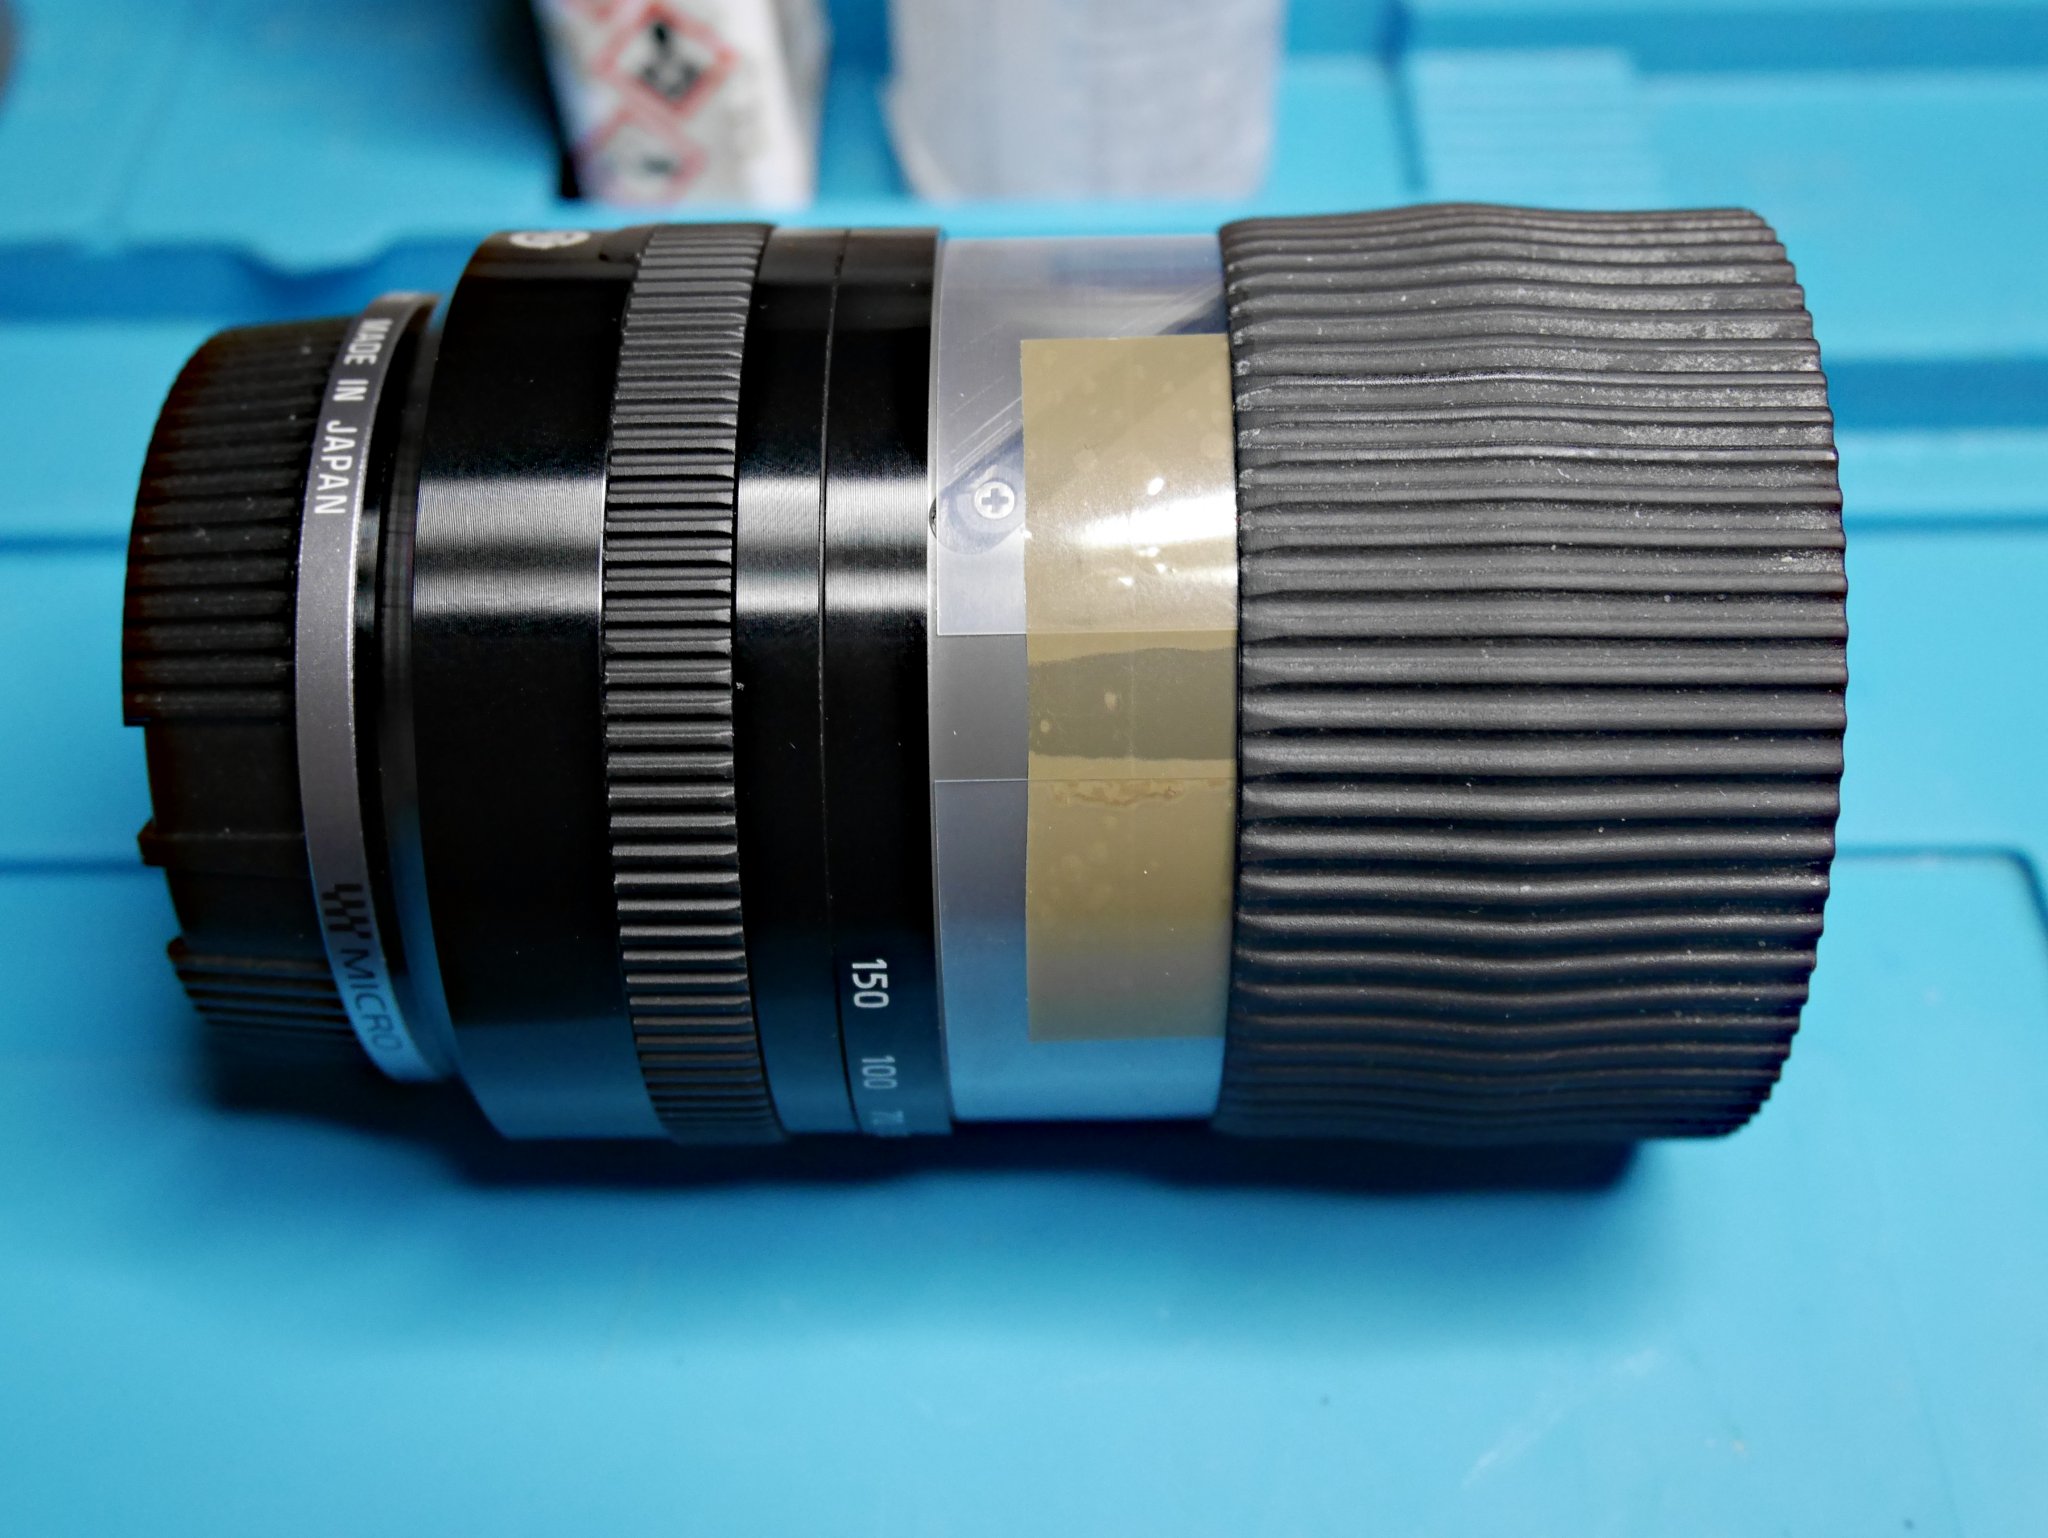
I carefully removed this with a pair of self-locking tweezers I reserve precisely for jobs like this and set it a side. To my surprise, the zoom mech works perfectly. Didn’t have any kapton tape in the workshop. So I refitted the plastic membrane and tacked it in place it on with a piece of brown parcel tape instead. I then slid the rubber ring back on and rotated it again. It feels just like new!
Test shots
So I put it back on the camera and took a few test shots. Here a are couple – one at 150mm through a rather grubby workshop window…

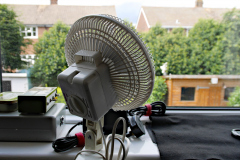
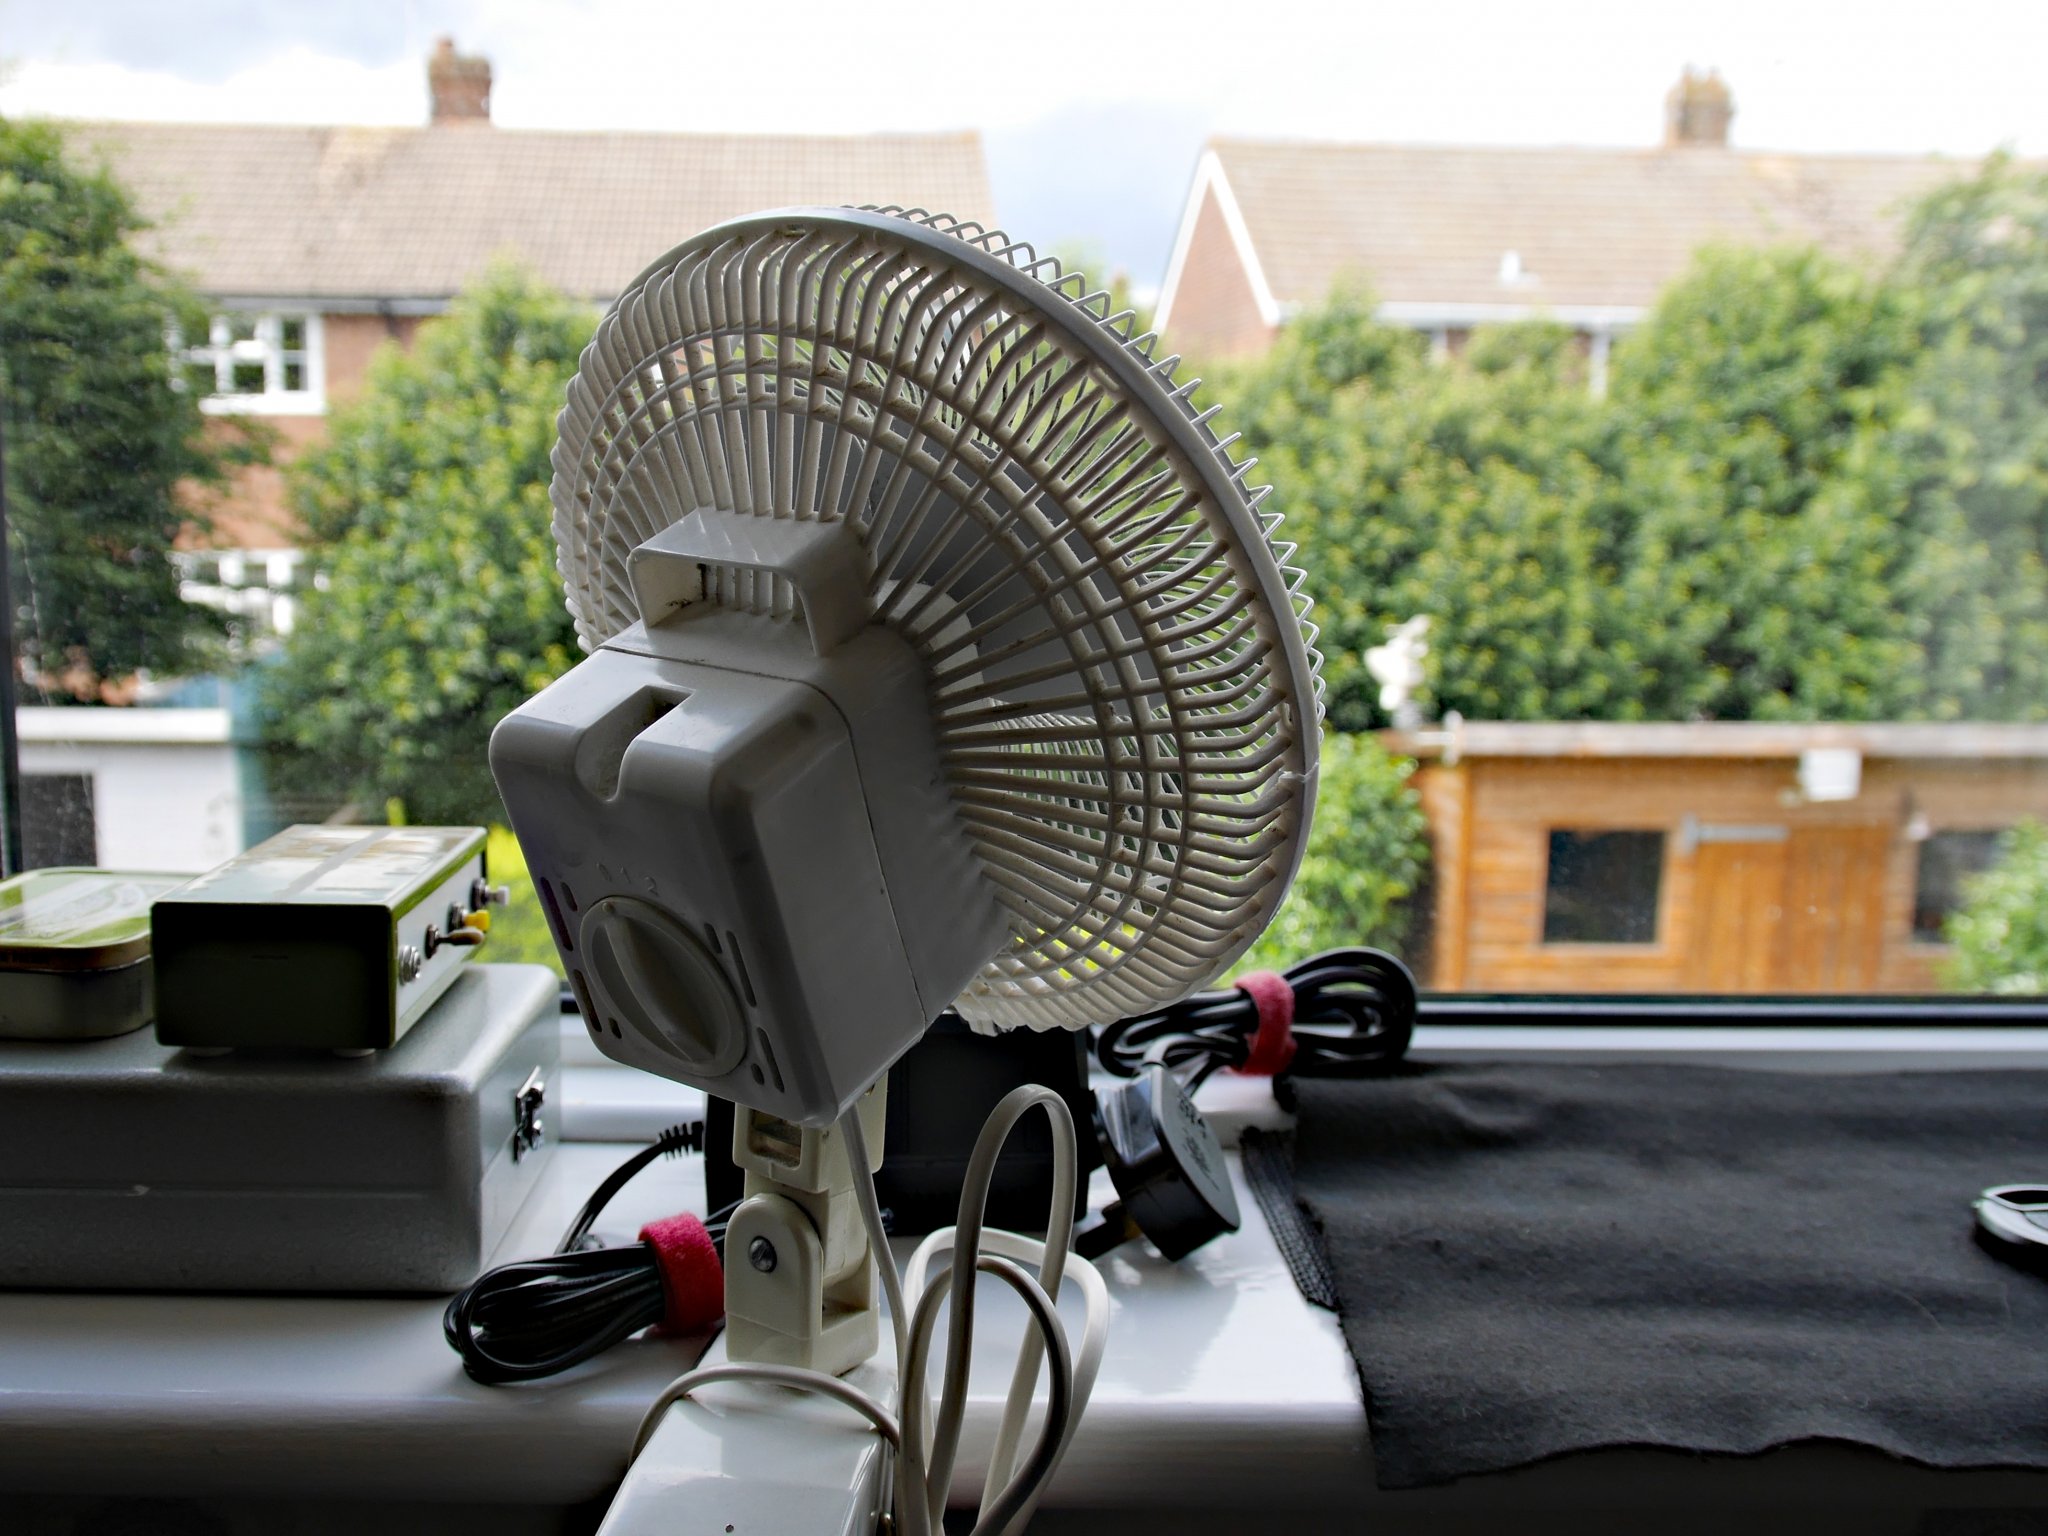
And another snap of my workshop cooling fan – taken right down the other end @14mm Perfectly adequate I’d say. 🙂
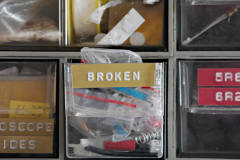
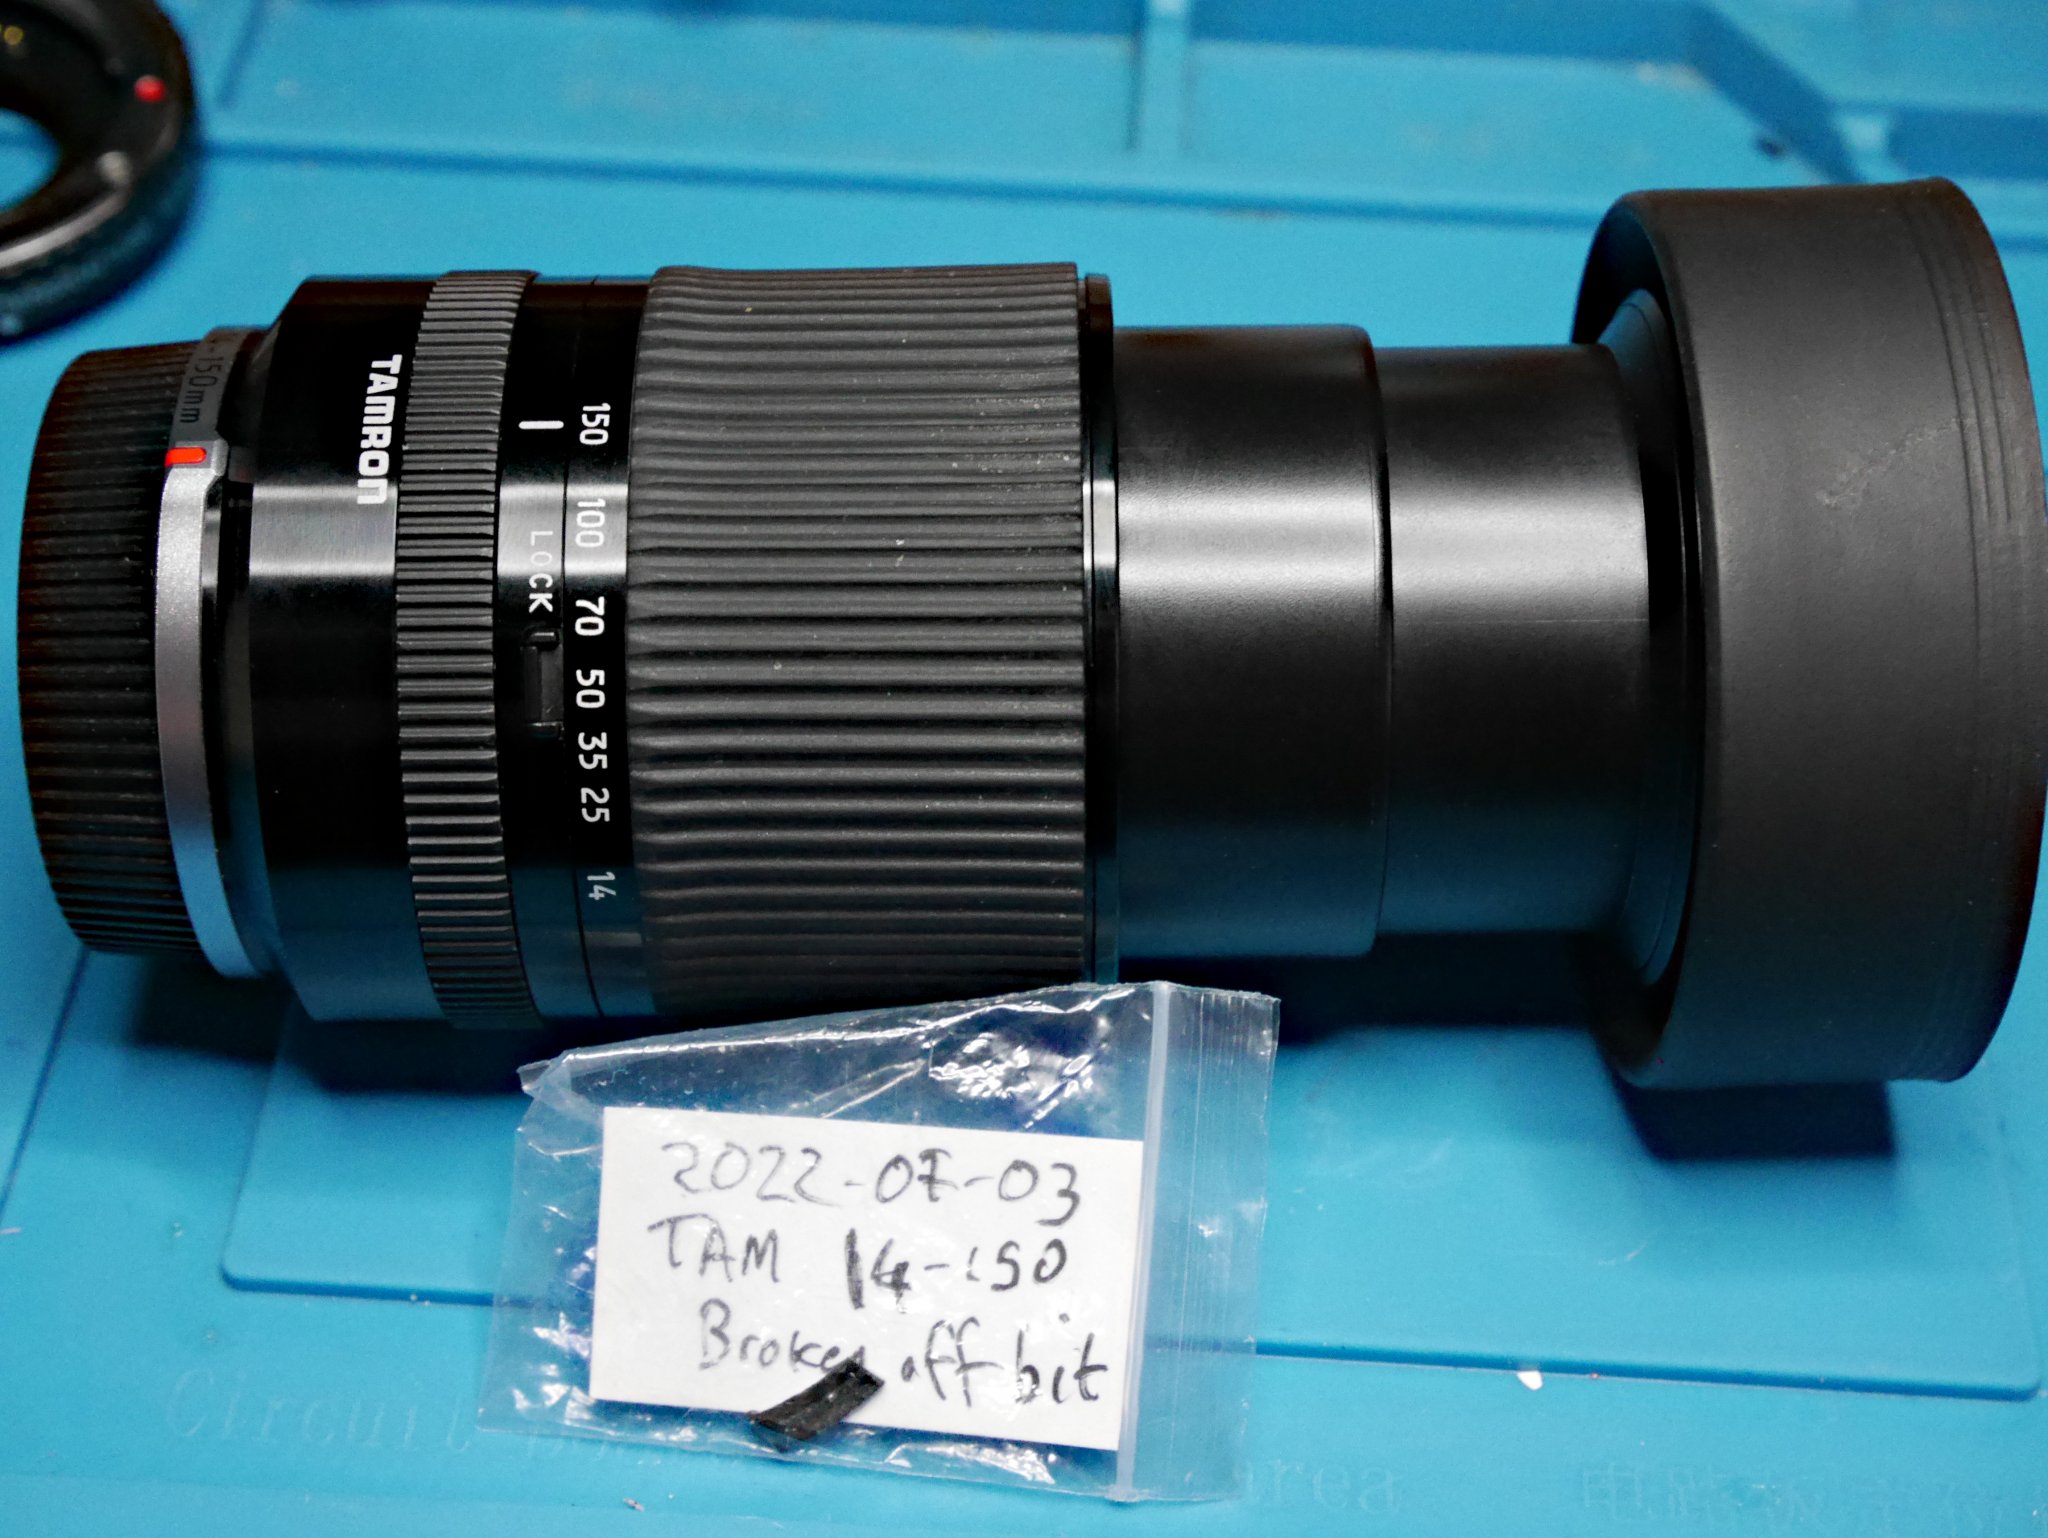
Meantime, I put the snapped of bit in a small plastic bag, dated and labelled it, and popped it into my special “broken” box – just in case it transpires that I need the snapped-off part, after all. 🙂
Gallery
I also compiled a gallery of photos I took during the repair operation…

