
Backup strategies
I suffered my first hard disk failure way back in 1987. Fortunately I recovered 99% of my data. However, successful recovery required quite a lengthy struggle and a somewhat inelegant bodge. Since then, I’ve held something of a fascination, some might even say an obsession with backup systems. Over the years, I have tried all sorts including floppies, tapes (several different types) Zip drive, CD ROM, DVD ROM, DVD RAM and USB stick. But the method I have generally found most useful, and certainly the easiest to deploy in event of emergency, is to put the biggest hard drive I can find in a suitable external case, and backup my data to it, using a decent data synchronisation tool.
In the days of USB 1.1 and USB 2 this could be rather slow. In fact I flirted with FireWire for a while, in an attempt to speed things up a bit. But today’s USB 3 .* is pretty quick, certainly for the sort of dataset I currently have. To be clear I’m not putting this forward as the definitive backup system. Rather I hope readers might find this useful and perhaps cherry-pick ideas for their own backup strategies.
It is also worth noting that I am a GNU/Linux user – mostly Debian or one of its various derivatives. Those of us using Unix-like OS’s are fortunate insofar as we have excellent array of free, open source software tools for performing this sort of task. If you are still using MS Windows then you will need to adapt your strategy to take into account the tools that are available to you.
My Dataset
Over the years, my dataset has grown to over 16TB. Consequently, for my main backups, I rather like these things…
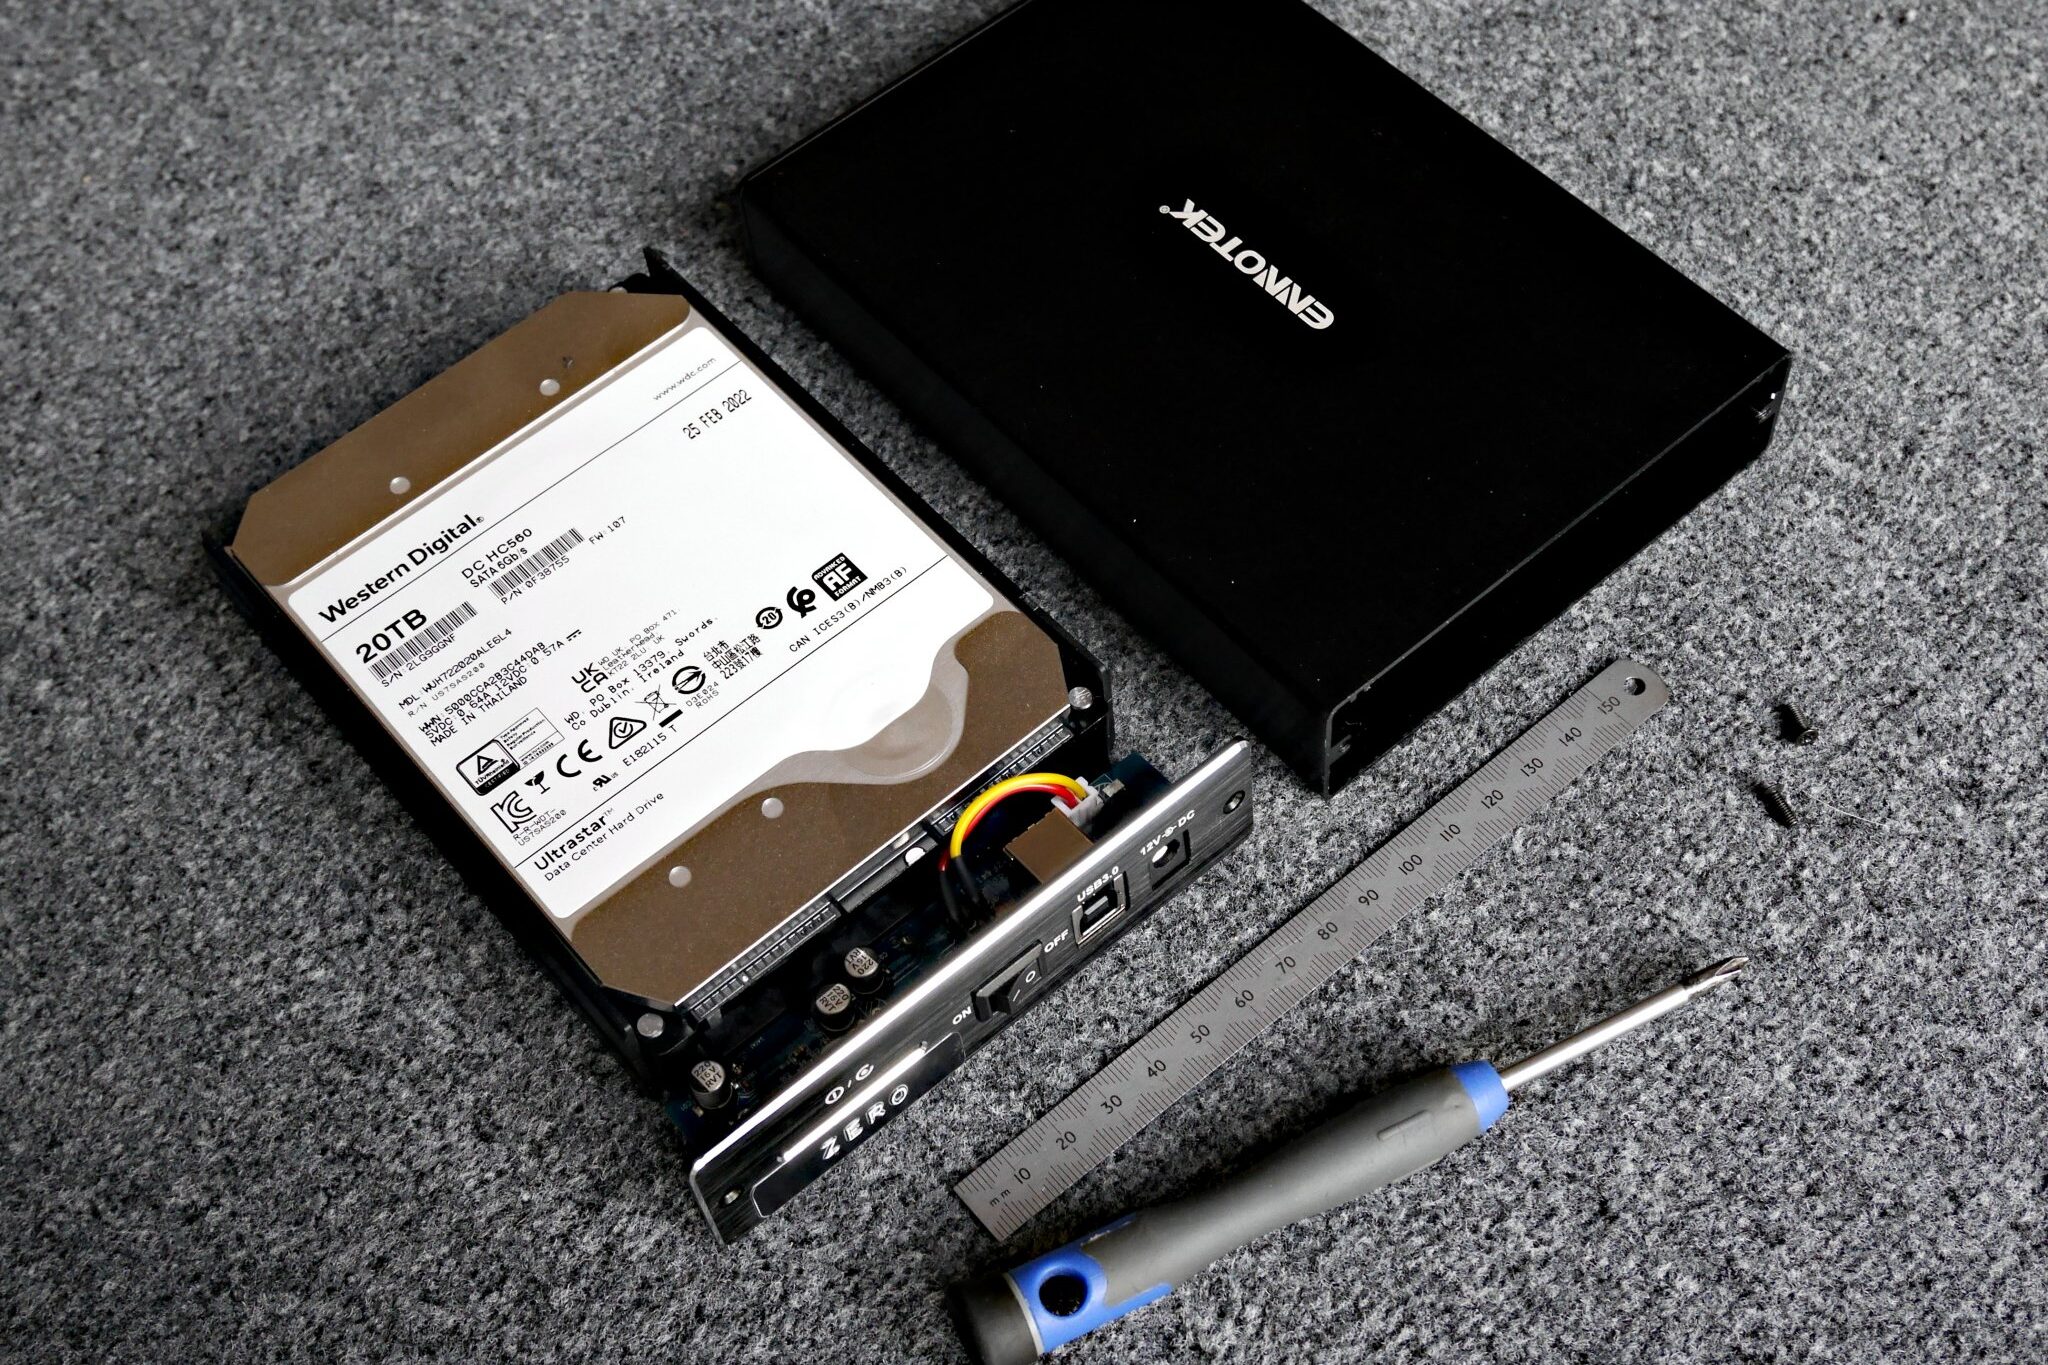
I currently have two Western Digital 20 TB, and two of the nearly-identical Toshiba equivalents. At time of purchase, the Toshiba versions were significantly cheaper. Yet they seem just as good. In fact, my tests suggest the Tosh version is very slightly faster.
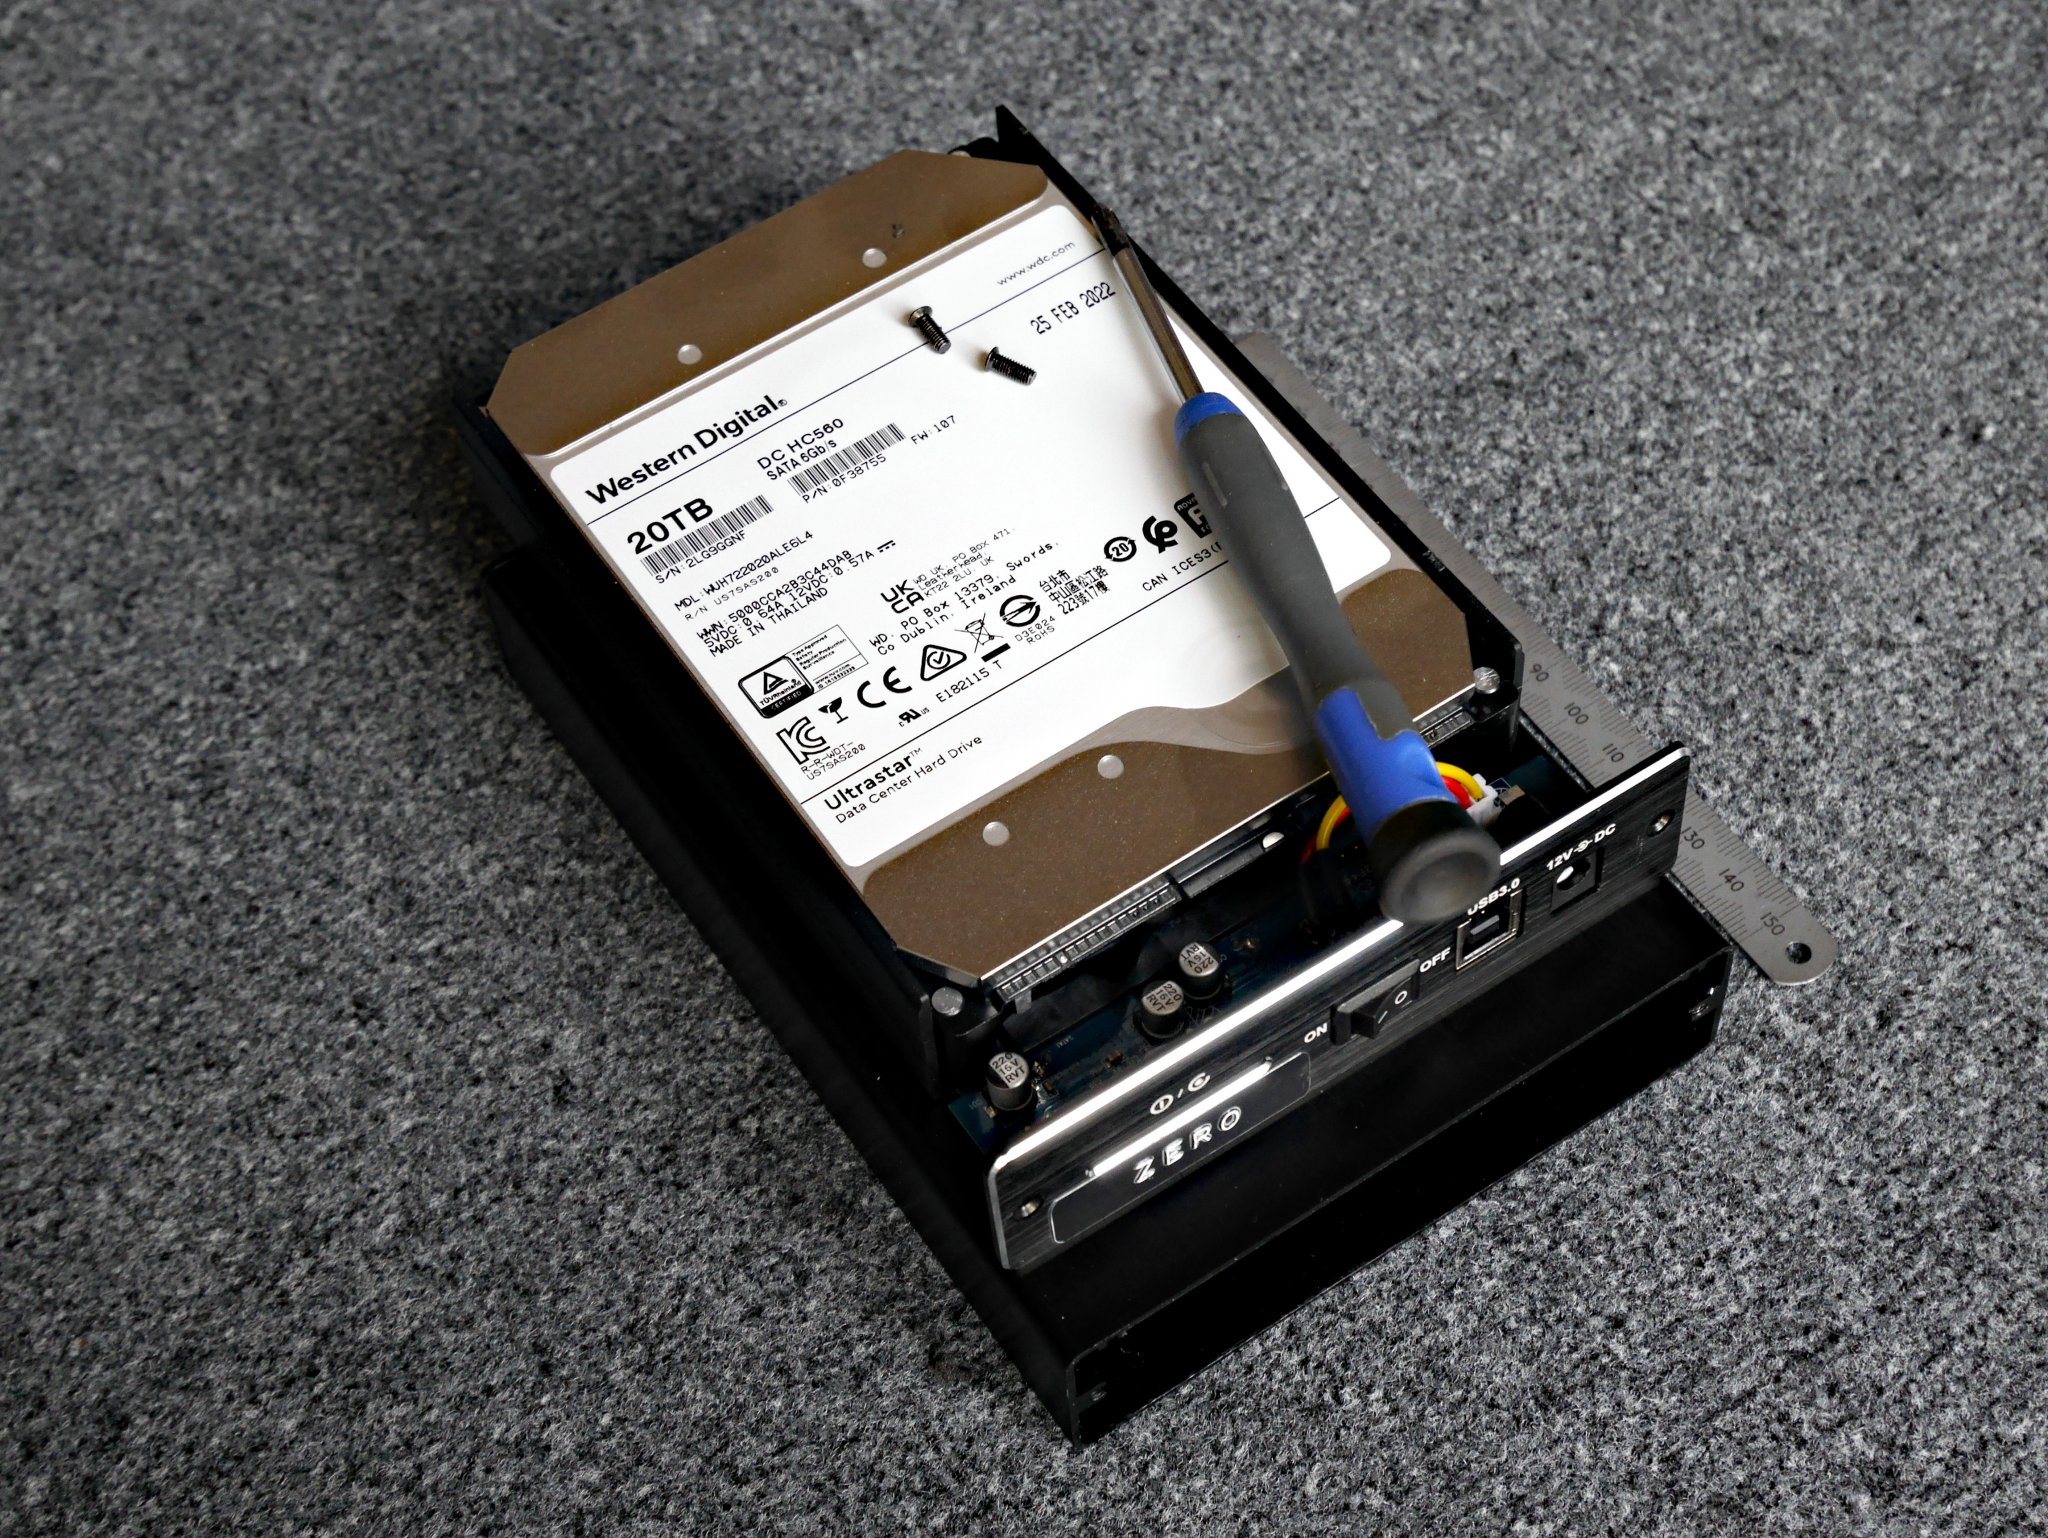
In any event. I prefer to buy the disks separately and fit them in cases of my own choosing. This is mostly so I can ensure that the power connection is a standard 12 volt 5.5mm x 2.1mm “barrel connector” rather than some horrid proprietary thing that requires a special power supply.
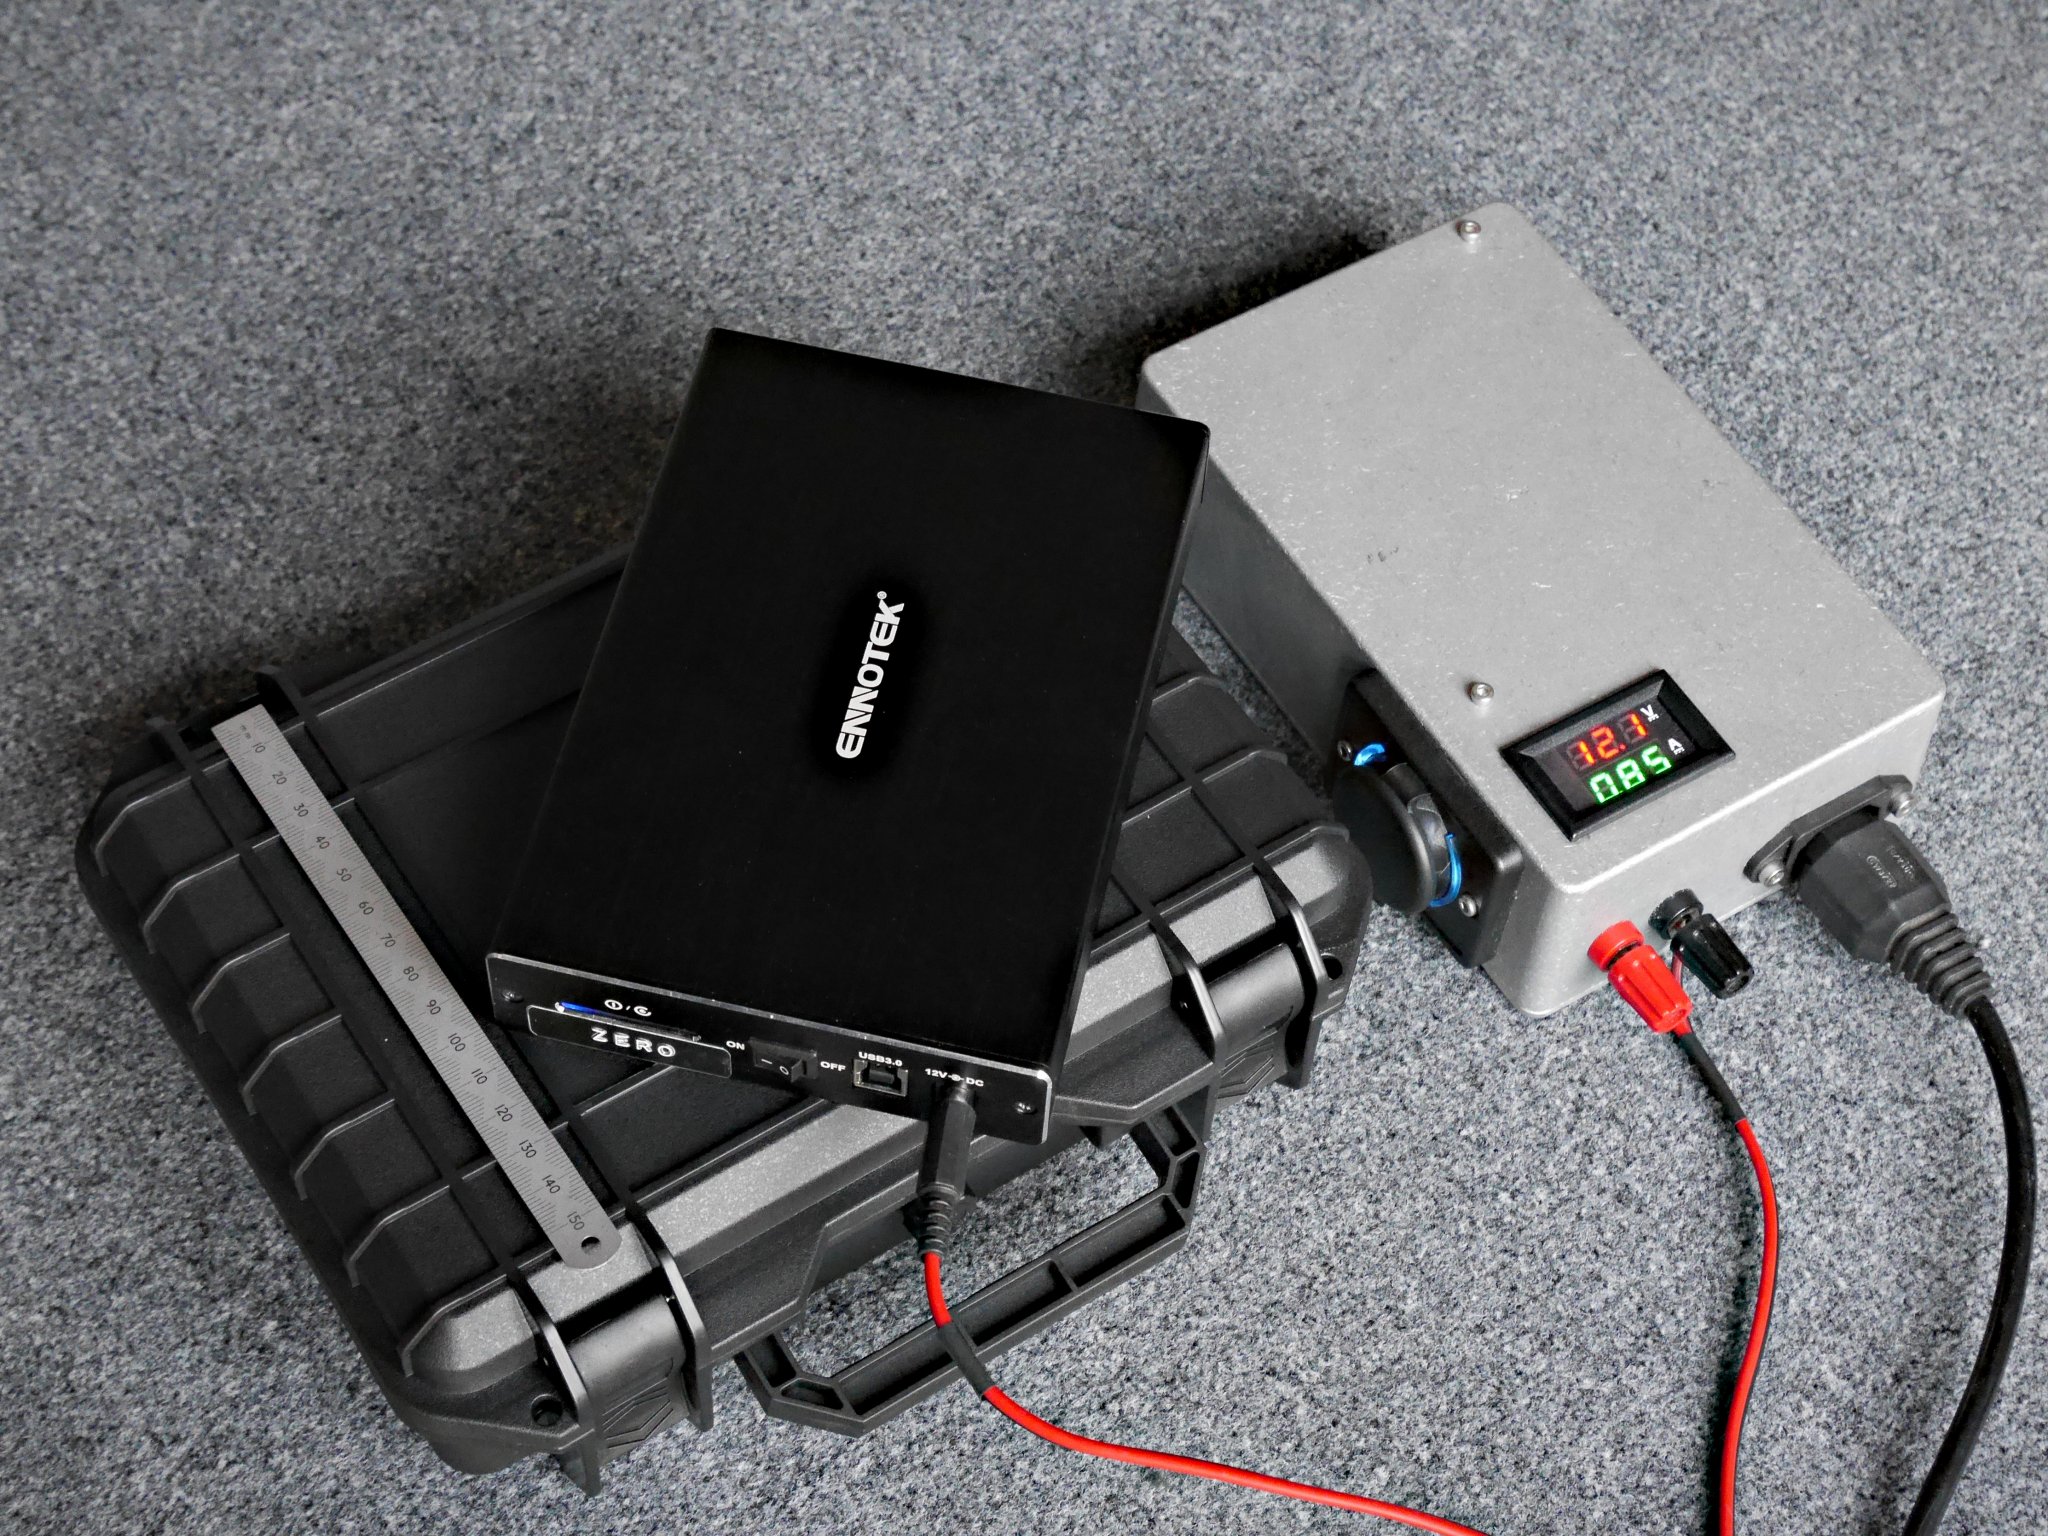
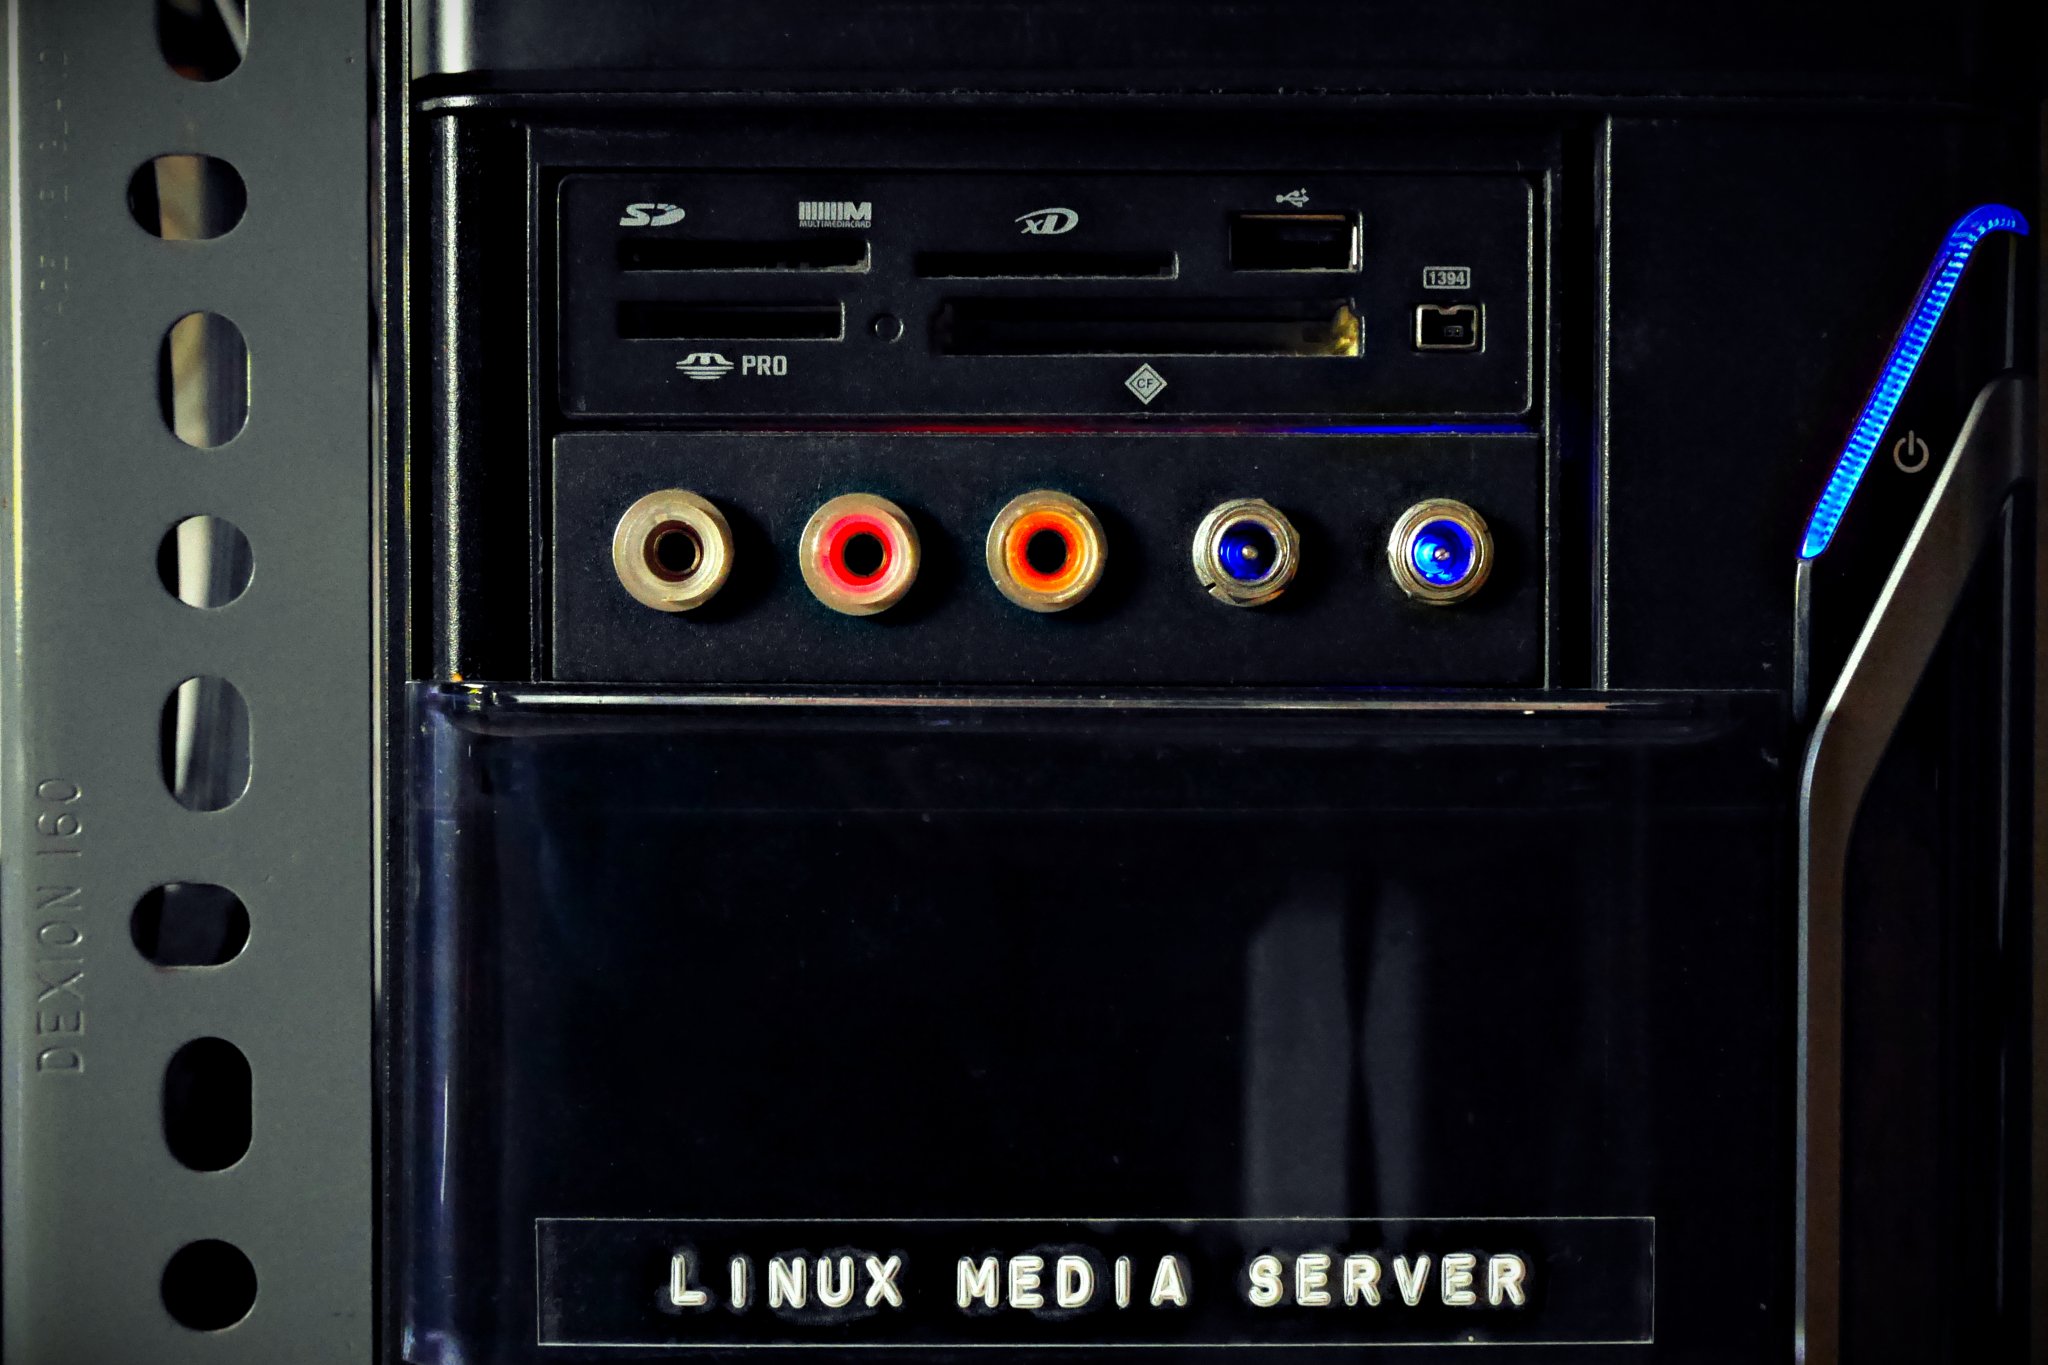
We have a 12 volt distribution board, c/w proper individual overcurrent protection in the studio for powering such kit. I prefer to use this rather than a mass of wall-warts of dubious manufacture. My Linux Media Server also has 12 volt (and 5 volt) power take-offs. And if push-comes-to-shove, I can always power it with a lab power supply.
Buying the cases separately means they generally come apart relatively easily. Also means that cases and disks can be deployed independently. A failure of a disk does not mean failure of a case, and visa versa. This also allows me to make small modifications to the cases, should I choose to do so, such as adding inline Schottky diodes for reverse polarity protection. And of course, I can find out exactly what chipset the manufacturer has deployed, verify that I’m happy with the manner in which the disk has been physically mounted, etc.
Encryption
All four disks have exactly the same layout and are interchangeable. All four disks are non-partitioned, big-single, encrypted EXT4, with full-disk Veracrypt encryption, using key-files. The reason for such strong encryption is that backup volumes can and do get lost or stolen, or simply left in a drawer and forgotten. Strong encryption means that if a person with bad intent encountered one of these disks, he/she would merely see a non-partitioned unformatted disk, full of random noise. I.e. no meaningful data whatsoever.
This uniformity also enables disks to be tested and swapped out quickly and easily. Currently, one disk lives semi-permanently inside my Media Server. and is unlocked manually after boot. This machine not merely serves media locally, it also has a web server, serving files from this disk to any device on the LAN with a browser (and the correct credentials). It also acts as a giant “NAS box”, with secure file access via SSH (again, correct credentials proviso). My work laptop’s /home/$USER directory and my remote web/mail server (upon which this site is hosted), both backup to the Media Server nightly, as a cronjob, using rsync over ssh.
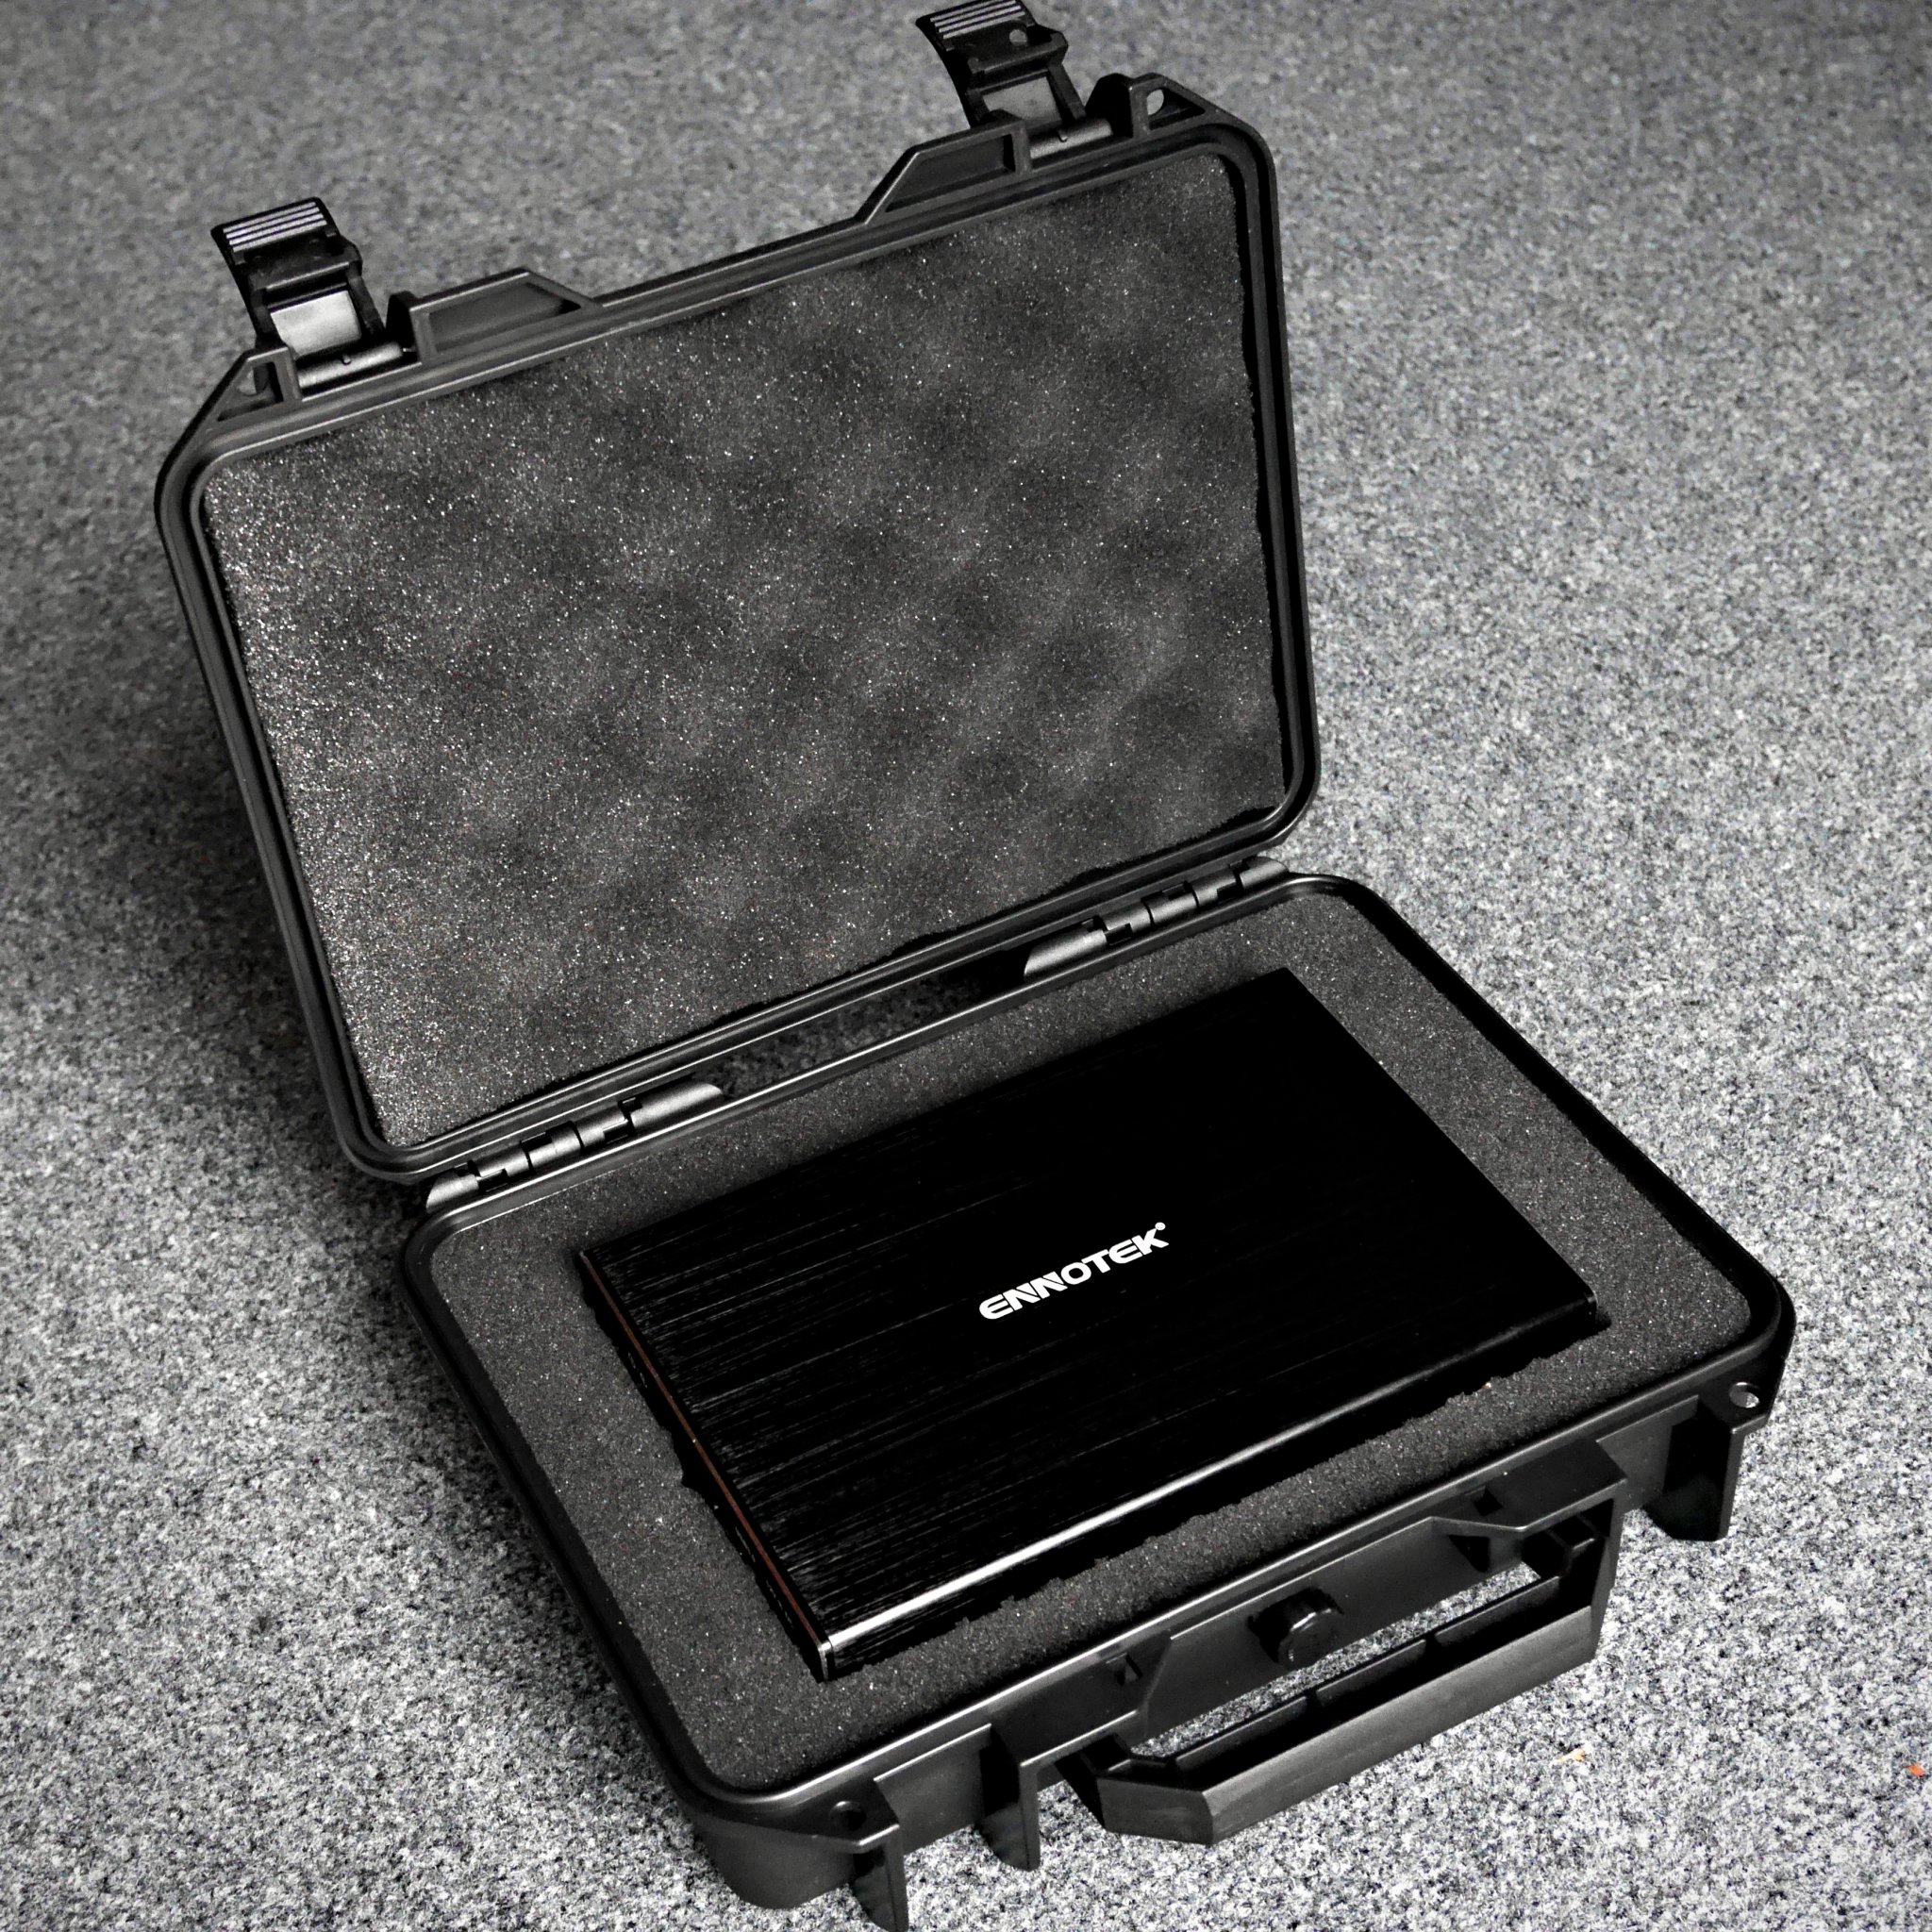
The other three disks live in USB 3.2 cases similar to those shown in the photos above and are used to backup the data on the Media Server using rsync. These disks are stored in various locations, such as the one in a water resistant outer case at my mum’s flat, some 35km or so from here. I just swap ’em over every time I visit. 🙂
Electromechanical or SSD?
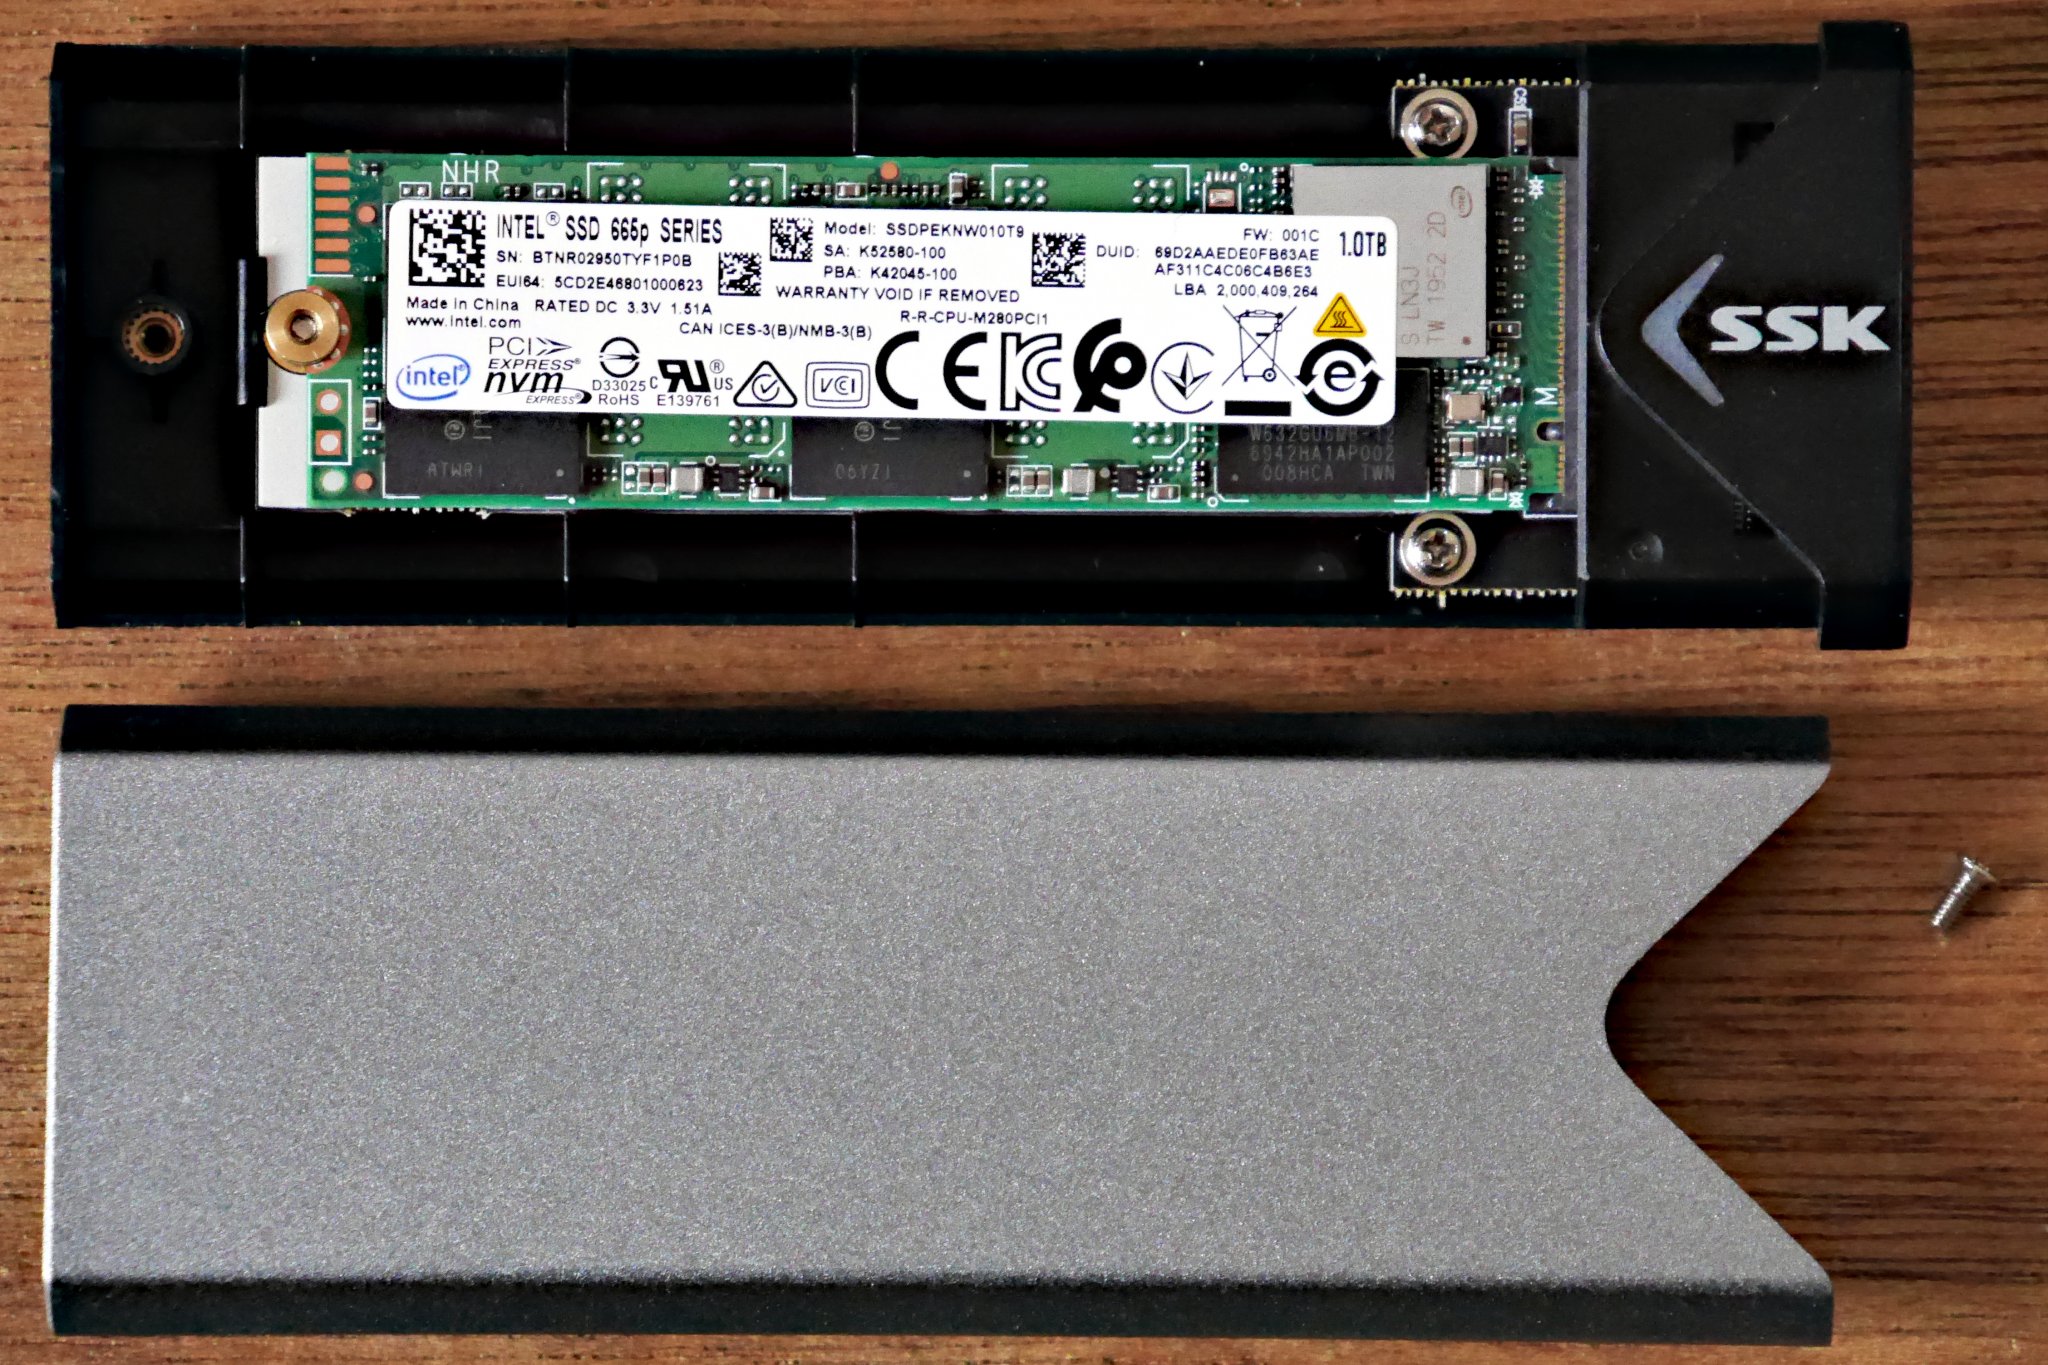
Now SSD is becoming more commonplace, I am flirting with various types and formats for backup. I already have a 1TB intel 665 MVMe in a SSK USB3.2 case that has spent the last 2.5 years as the boot + data disk for our miniscule Raspberry Pi-based Zoneminder security camera recorder and WeeWx weather station logger. It’s worked perfectly.
The other day, I replaced the internal 1 TB Samsung m.2 NVMe in my laptop with a 2 TB device of the same type and manufacture. Which meant I had a perfectly-adequate top-quality 1 TB Samsung m.2 NVMe spare. So I popped it in another tiny SSK case, similar to the one I used on the Pi, and Veracrypted it. Now it makes an excellent (and blisteringly fast) additional external backup unit for my laptop’s /home/$USER directory. It’s physically tiny too: 115 mm x 40 mm x 10 mm, and weighs just 52 grams. Upside, it slides easily into a shirt pocket. Downside, it is easily lost. Hence, all the more reason to encrypt it! 😉
Backup Software
My favourite backup tool is: rsync. Granted it’s a command-line tool, which may not be everybody’s up of tea. But once you get beyond that, in terms of speed, low CPU-usage and versatility it is, IMHO, simply the best there is. Its command structure is pretty logical too. Thus command will synchronise the target with the source, and delete any files on the target that no longer exist on the source. It will also display its progress, on screen, file-by-file:-
rsync -a --progress --delete /path/to/source/ /path/to/target
It is also possible to tee-off its STDOUT text output to a log file, something like this:-
rsync -a --progress --delete /path/to/source/ /path/to/target | tee -a /path/to/logfile.log
If you are backing up files owned by several different users, and/or owned by root, you may use the “sudo” command. You can also automatically prefix the name of the logfile with today’s date, thus:-
sudo rsync -a --progress --delete /path/to/source/ /path/to/target | tee -a /path/to/`date +"%Y%m%d"`-logfile.log
However, if this seems too complex, there are plenty of other good tools out there too. The important thing is that whatever backup software you choose must allow incremental backup. I.e. you only need to backup files that have changed or been added, rather than having to copy the whole damned lot every single time you backup! 🙂
Where to buy?
In terms of purchasing, I have been quite impressed with a British company called Scan Computers. Its prices seem pretty competitive and its RMA system is commendably quick.
NB. I have no stake or interest in any of the companies mentioned in this article.